There are many tools to change the size of an image on iOS devices. In this post, I’ll show you how to resize an image on iPhone and iPad with or without third-party apps (Try MiniTool MovieMaker to make a video from photos on Windows).
To free up storage space on your iPhone or iPad, you need to delete the unwanted photos, transfer photos from your device to the computer and resize some photos. How to resize photos on iPad and iPhone? Here are the top 4 methods for you!
How to Resize an Image on iPhone and iPad using Photos
The Photos app lets you adjust the size of an image and offers a variety of dimensions to choose from. Below are the detailed steps on how to resize an image on iPhone and iPad.
Step 1. Open the Photos app.
Step 2. Find and open the photo you want to resize.
Step 3. Tap on Edit in the top-right corner of your screen.
Step 4. Tap on the crop icon at the bottom of the screen.
Step 5. Click on the icon next to the three dots button in the upper-right corner.
Step 6. Then select the aspect ratio you want and tap Done to apply the change.
Related article: How to Reduce Picture File Size? Everything You Need to Know
How to Resize an Image on iPhone via Mail
How to make an image smaller on iPhone without cropping it? You can reduce the image file size via Mail. Here’s how:
Step 1. Open the photo you’d like to resize in the Photos app.
Step 2. Tap the share icon and choose Mail from the below share options.
Step 3. Input your email address and click the Send button.
Step 4. Then you will see a popup window asking you to select an option from Small, Medium, Large and Actual Size.
Step 5. After that, download the resized photo to your iPhone.
How to Resize an Image on iPhone using Image Size
Another method is to use third-party apps like Image Size. Image Size is a powerful photo resizer for iPhone. It allows you to scale an image to any size you want.
Here’s how to resize an image on iPhone using Image Size.
Step 1. Launch the Image Size app.
Step 2. Tap the photo icon to import the photo you want to resize.
Step 3. It offers you 5 resize options: pixel, ⩽ pixel, mm, cm and inch. Choose the desired option to resize the photo.
Step 4. Enter the size values in the Width and Height boxes and click the Download button to save the resized image.
How to Batch Resize Images on iPhone using Online Image Resizer
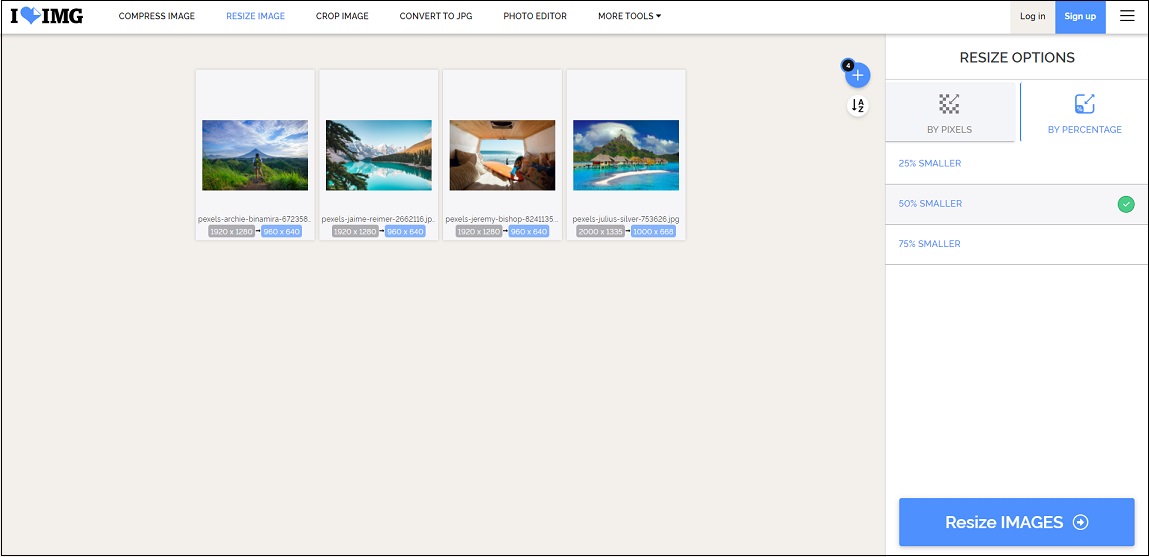
If you want to quickly resize images on your phone, you can use an online image resizer. Here recommend iloveimg. It features a set of tools for image editing and conversion. With it, you can batch resize multiple images at once without effort.
Step 1. Visit the iloveimg website and tap on RESIZE IMAGE.
Step 2. Click on Select images to upload your images.
Step 3. Under the RESIZE OPTIONS, choose BY PIXELS or BY PERCENTAGE and enter the size values or select the wanted percentage option.
Step 4. Press on Resize IMAGES to start resizing your pictures.

Step 5. Once your images have been resized, download them to your phone.
Conclusion
That’s all about how to resize an image on iPhone and iPad. If you want to resize multiple images on iPhone, you’d better use a photo resizer.


User Comments :