This essay from MiniTool MovieMaker will give you an accessible guide on how to add keyframe in After Effects.
What Are Keyframes?
Keyframes are crucial tools for creating animations and making videos. In video editing, keyframes are anchor points that let your editing software know where you want to change the parameter values for a layer or effect property, such as position, scale, rotation, color, opacity, etc.
Generally speaking, if you would like to use keyframes to create a variation over time, you need to set at least two keyframes. One is for the state at the beginning of the variation, while the other is for the new state at the end of the variation.
By setting the two keyframes and changing their parameter values, your editing software will automatically animate between the two keyframes.
In addition to moving layers from one side of the composition to the other, keyframes can be used to change the opacity of an element over time and scale an element over time. They unlock a wide range of possibilities for motion design.
Basic Types of Keyframes in After Effects
Before exploring how to add keyframe in After Effects, let’s see the types of keyframe options in After Effects.
#1. Linear Keyframes
A linear keyframe is a very steady and even movement that interpolates at a constant pace between the anchor points. It means the action between the two keyframes will move at a fixed pace from the first keyframe to the second.
#2. Hold Keyframes
A hold keyframe aims to create a frozen video screen or prepare a jumpy movement in the animation. It holds the value at which the animated property stays until a second keyframe changes it within the timeline. You can also understand it as a freeze frame or stop-motion keyframe.
#3. Bezier Keyframes
Bezier keyframes allow users to control the motion settings more. You can adjust the curve of the animation that Bezier keyframes produce for changing the speed of animation or adjusting the screen position on a motion path.
How to Add Keyframe in After Effects?
Every Motion Graphic has a track on the timeline. You are allowed to add keyframes on its track to create movement. For After Effects, keyframes are set in the Timeline Panel. When we set keyframes in the timeline, we are telling After Effects when an animation or function begins or ends.
Step 1. Launch the After Effects software after downloading it to your device. Open the project panel using Ctrl + O in Windows.
Step 2. Create or import a layer that you’d like to animate. Click on the arrow next to the layer name to reveal all of its properties. You can see several property options under the Transform list, such as Position, Scale, Rotation, Opacity, etc.
Step 3. Move the playhead on the timeline to the point where you want to place it and adjust the parameters of the property. After finishing the set of parameters, tap the stopwatch next to the property options. Then, you can see a diamond-shaped icon that is your first keyframe.
Step 4. Move the playhead to a new spot on the timeline and adjust the property values by using the same way. You can get the second keyframe.
Tip:
- After Effects will automatically add or change a keyframe for the property at the current time whenever you change the parameters of the property.
- If you’d like to change multiple properties, you will need to click the stopwatch icon on each of them to animate them.
- By default, animations can seem robotic and unnatural for moving linearly. So, you can right-click on the keyframe and select Keyframe Assistant. Then, choose Easy Ease to get a smoother transition for animations.
If you still find it too complicated to animate with keyframes, you can choose to use some video editing software that comes with its own animation effects.
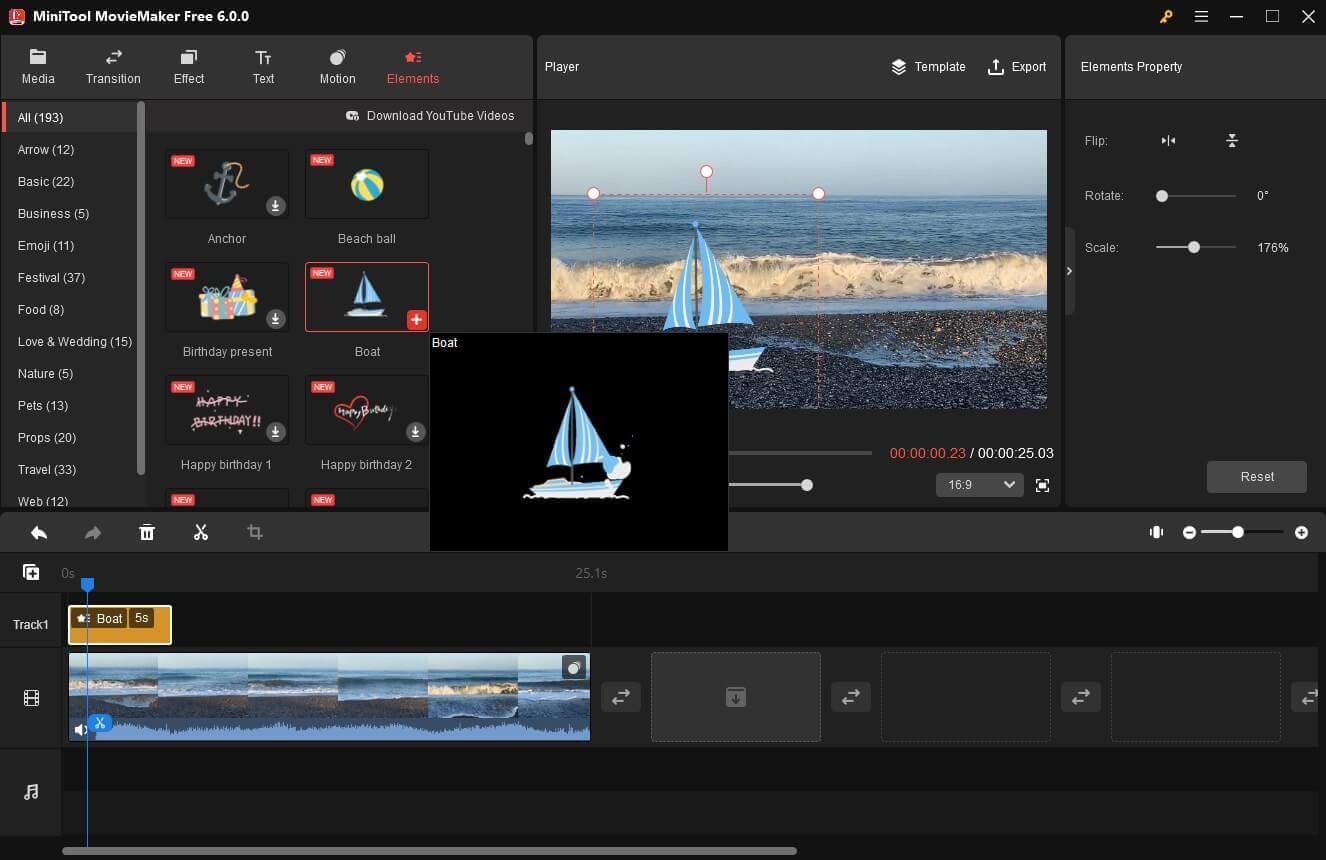
MiniTool MovieMaker is suitable for you. Whether you want to add natural transitions, motion effects, animated text, or dynamic stickers to your videos, MiniTool video editor can realize all of them.
MiniTool MovieMakerClick to Download100%Clean & Safe

Conclusion
Now that you have a basic understanding of what a keyframe is and learn how to add a keyframe in After Effects, why not start practicing more? After mastering how to create animation by using keyframes, you will find that video editing is so funny and easy.


User Comments :