This post focuses on how to edit videos on a Lenovo laptop. It offers you 3 free and easy tools for this task.
How to Edit Videos on a Lenovo Laptop – MiniTool MovieMaker
MiniTool MovieMaker is the most recommended tool to edit videos on a Lenovo laptop. It’s free and easy to use, allowing users of any level to make a wonderful video with a few simple clicks.
MiniTool MovieMaker can help you cut out unnecessary parts, change the video’s aspect ratio, modify the color, and adjust the speed. It also enables you to add transitions, filters, texts, motions, effects, and audio to the video. Moreover, this tool has no watermarks or ads.
Here is a quick guide on how to edit a video on a Lenovo laptop.
Step 1. Download and install MiniTool MovieMaker
Click the button below to download and install MiniTool MovieMaker on your Lenovo laptop.
MiniTool MovieMakerClick to Download100%Clean & Safe
Step 2. Add the video
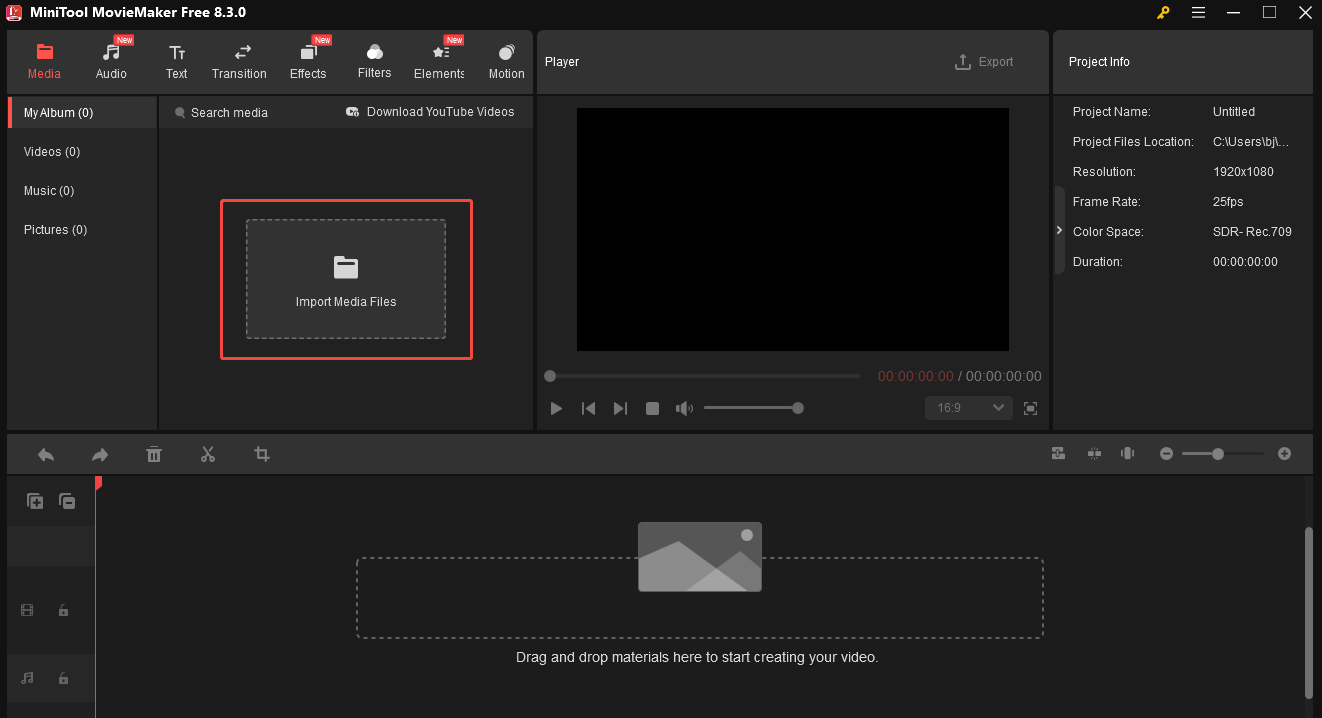
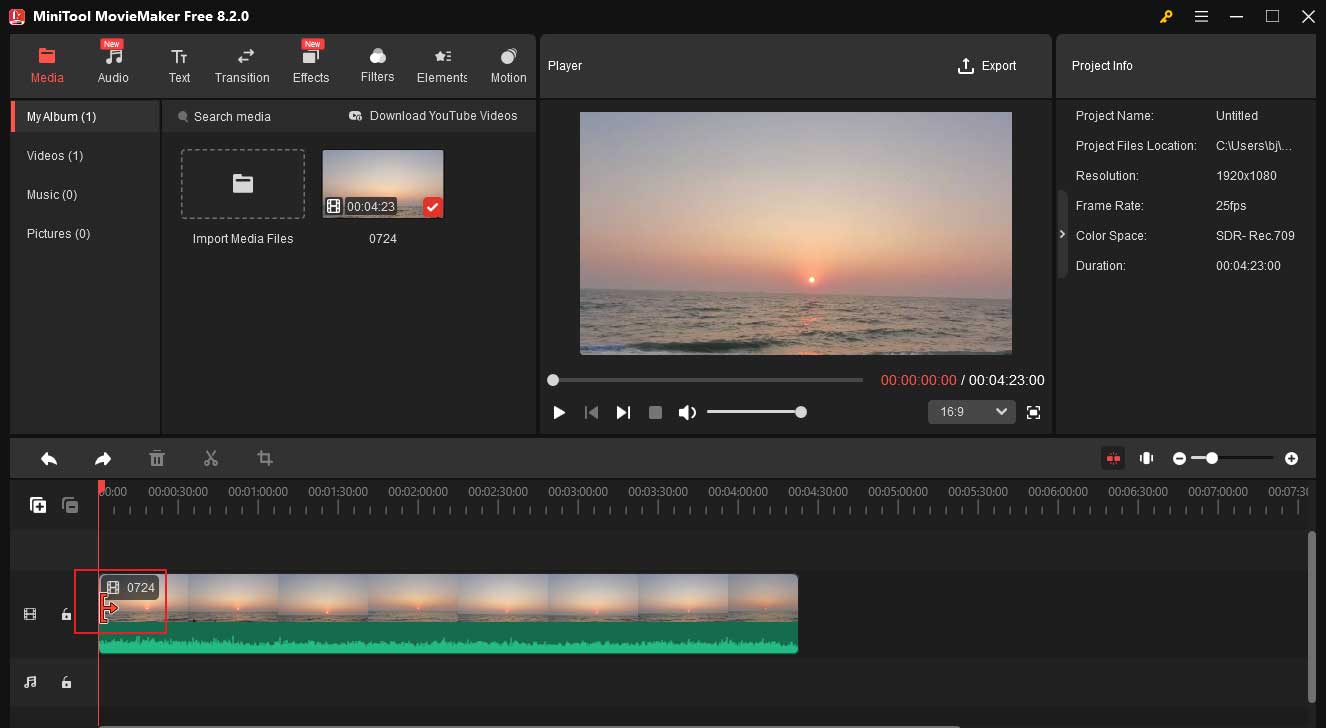
Run this software and close the project windows to enter its main interface. Next, click Import Media Files to add the target video. Then, click the + icon to add the video to the timeline.
Step 3. Start Editing
Trim
Hover over your mouse at the start/end point of the video until you see an arrow. Next, move the arrow to the right/left to trim the video.
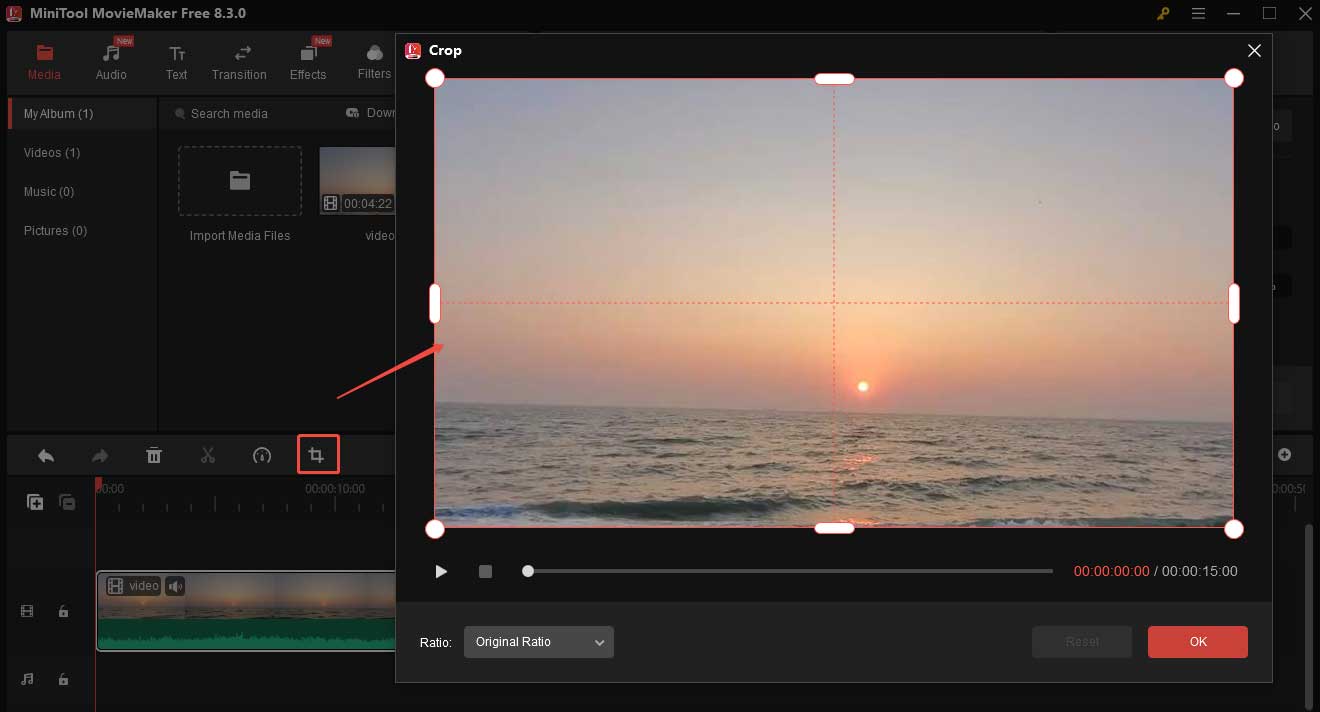
Crop
Click the Crop icon on the timeline toolbar. Go to the preview section and move the cropping handles to customize the cropping area. Then, click OK.
Add a Filter
Click the Filters icon on the top menu bar, choose your desired filter mode, click the + icon to add it to the timeline, then drag the filter on the timeline to adjust its position.
You can also mouse over the start/end part of the filter and then drag the arrow to the left/right to change its duration.

Step 4. Export the video
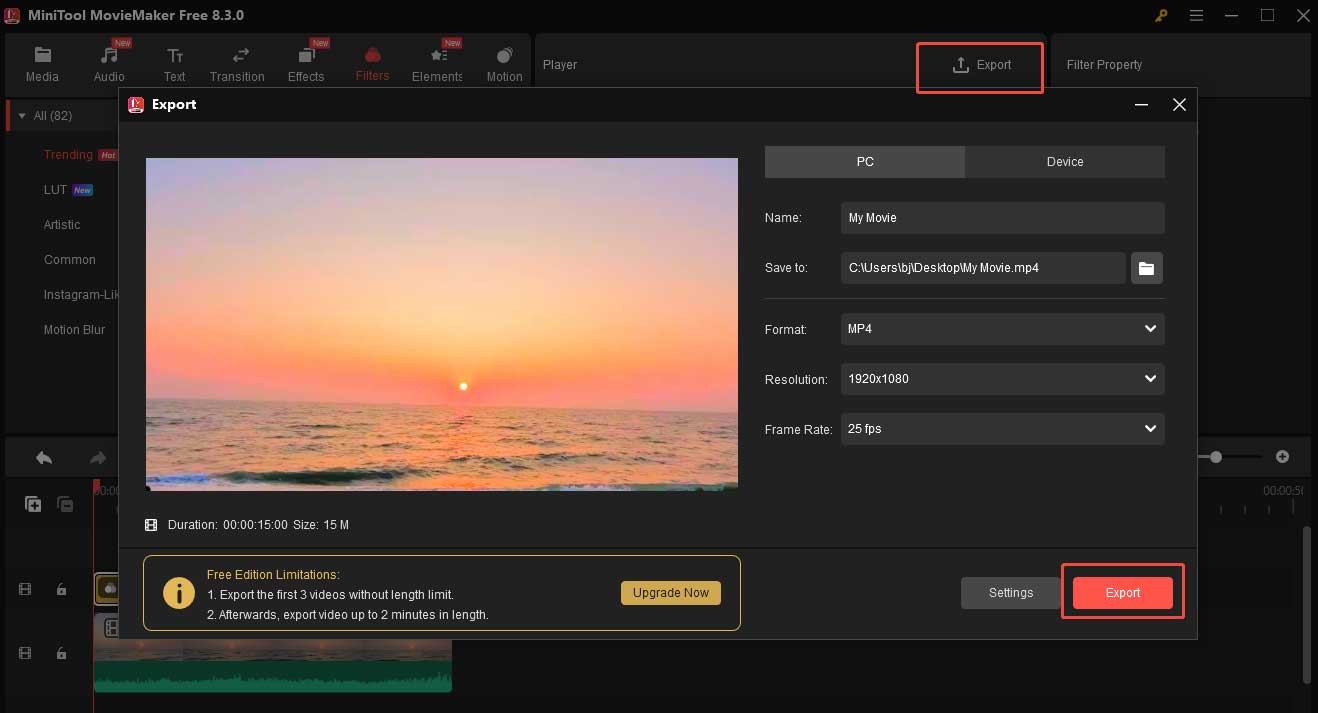
Click the Export buttonto open the Export window. Finally, click the red Export button.
How to Edit Videos on a Lenovo Laptop Clideo
Clideo is an online video editor that allows you to edit videos on your Lenovo laptop without downloading. This online tool is easy and feature-rich.
Step 1. Open the Clideo video editing tool
Go to the Clideo website, choose the Video Editor option, and hit Get started to open the Clideo video editing tool.
Step 2. Add the video
Hit the Click to upload area to load your video.
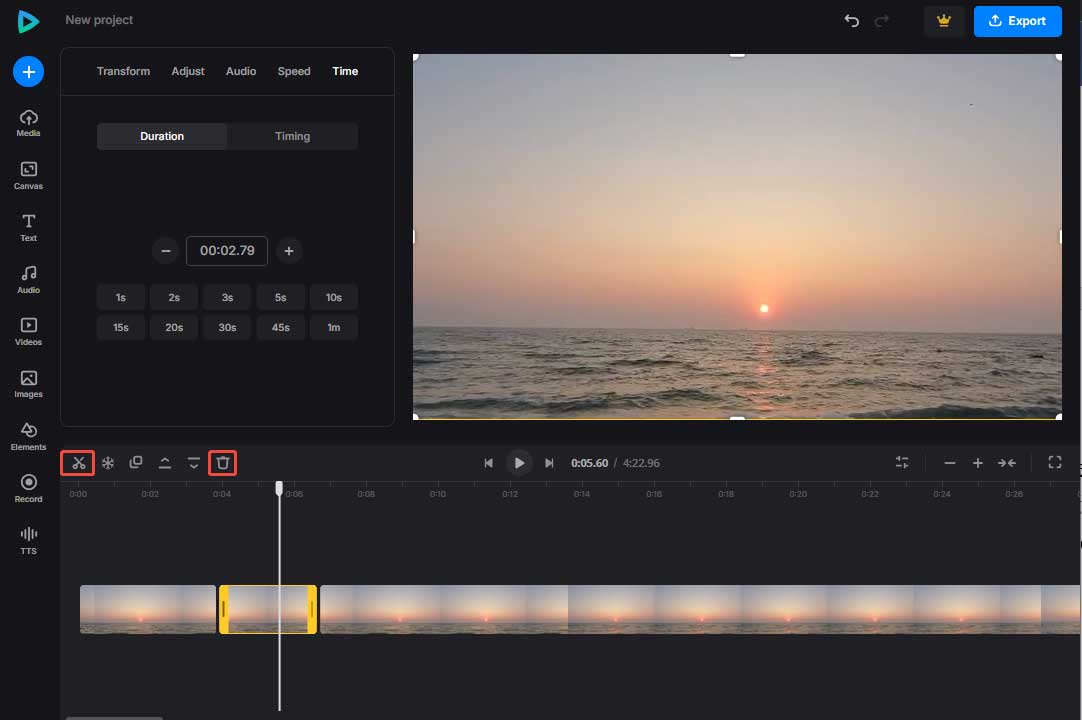
Step 3. Cut unnecessary parts
Move the playhead to the start point of the clip you want to remove, and click the Scissors icon on the timeline toolbar. Then, move the playhead to the end point of the clip you want to remove, and click the Scissors icon on the timeline toolbar. Choose the clip you want to remove and choose the Trash icon on the timeline toolbar to delete it.
Step 4. Export the video
Click the blue Export icon in the top-right corner of the interface, choose a resolution, and click Continue.
How to Edit Videos on a Lenovo Laptop with Kapwing
Kapwing is also an online video editor for Lenovo laptops. It is an easy-to-use video creation platform that helps you make great videos quickly.
Step 1. Open the Kapwing video editing tool
Visit the Clideo website, expand the Tools option, choose Video Editor, and click Edit Video to open the Kapwing video editing tool.
Step 2. Add the video
Click the Click to upload area to add the video to this software.
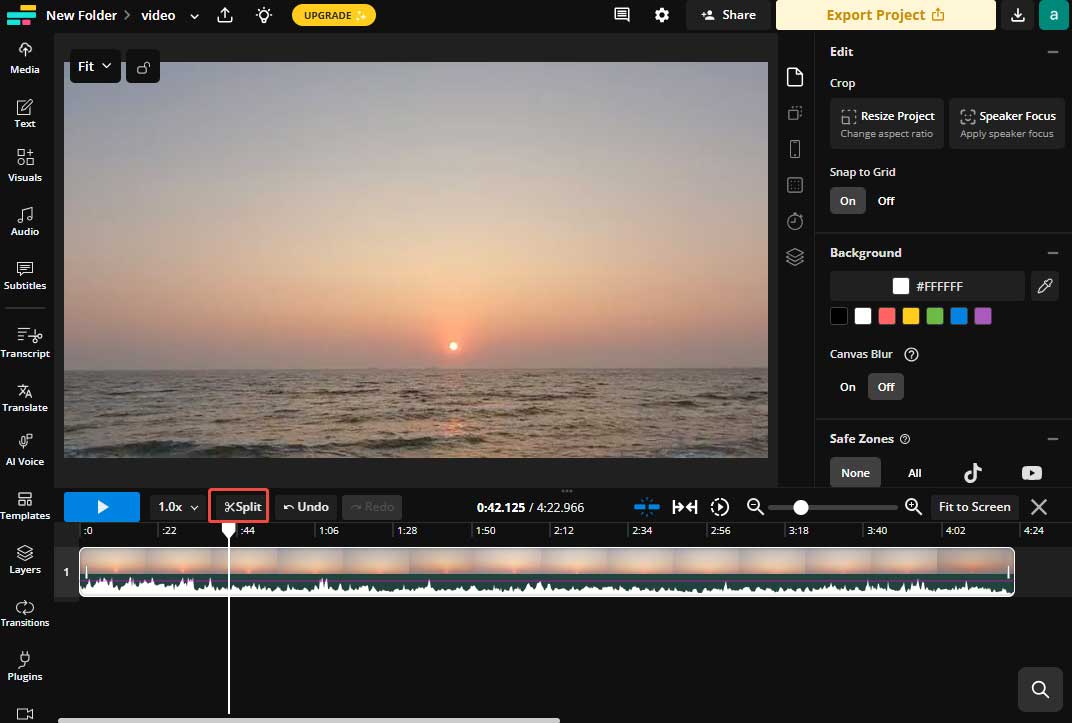
Step 3. Split the video
Move the playhead to where you want to split and click the Split icon on the timeline toolbar.
Step 4. Add Transitions
Choose Transitions from the left sidebar, choose your desired style, and drag it to where you want to add it.
Step 5. Export the video
Click Export Project to export the video.

Conclusion
Can I do video editing on a Lenovo laptop? Sure. With the 3 tools mentioned in this post, I can edit videos on my Lenovo laptop easily and quickly.
User Comments :