Finding methods to delete audio from RMVB videos on PC? This post from MiniTool provides three free and advanced tools: MiniTool MovieMaker, Microsoft Clipchamp, and CapCut. Read this article and try them!
Have some RMVB videos, but don’t like the background audio in them? Or want to replace the audio in the video? Then you need to delete audio from RMVB. Three free and effective methods are introduced below. Read on.
Delete Audio from RMVB with MiniTool MovieMaker
MiniTool MovieMaker is a user-friendly and free video editing tool that can remove audio from video, extract audio from video, add audio to video, etc. It supports various multimedia formats, including RMVB, MP4, MOV, MKV, AVI, MP3, AAC, and more.
In addition, MiniTool MovieMaker allows you to customize output parameters, like frame rate, resolution, bitrate, etc. It has no ads, bundles, or watermarks, offering a pleasant user experience. Now, you can follow the instructions below to delete audio from RMVB.
1. Download and install MiniTool MovieMaker.
Click the button below to start downloading MiniTool MovieMaker. After that, complete the computer installation by following the setup instructions.
MiniTool MovieMakerClick to Download100%Clean & Safe
2. Add the RMVB video to MiniTool MovieMaker.
Launch MiniTool MovieMaker and click the New Project option to enter its editing page. Then, click on the Import Media Files option to add the RMVB video.

3. Delete audio from RMVB.
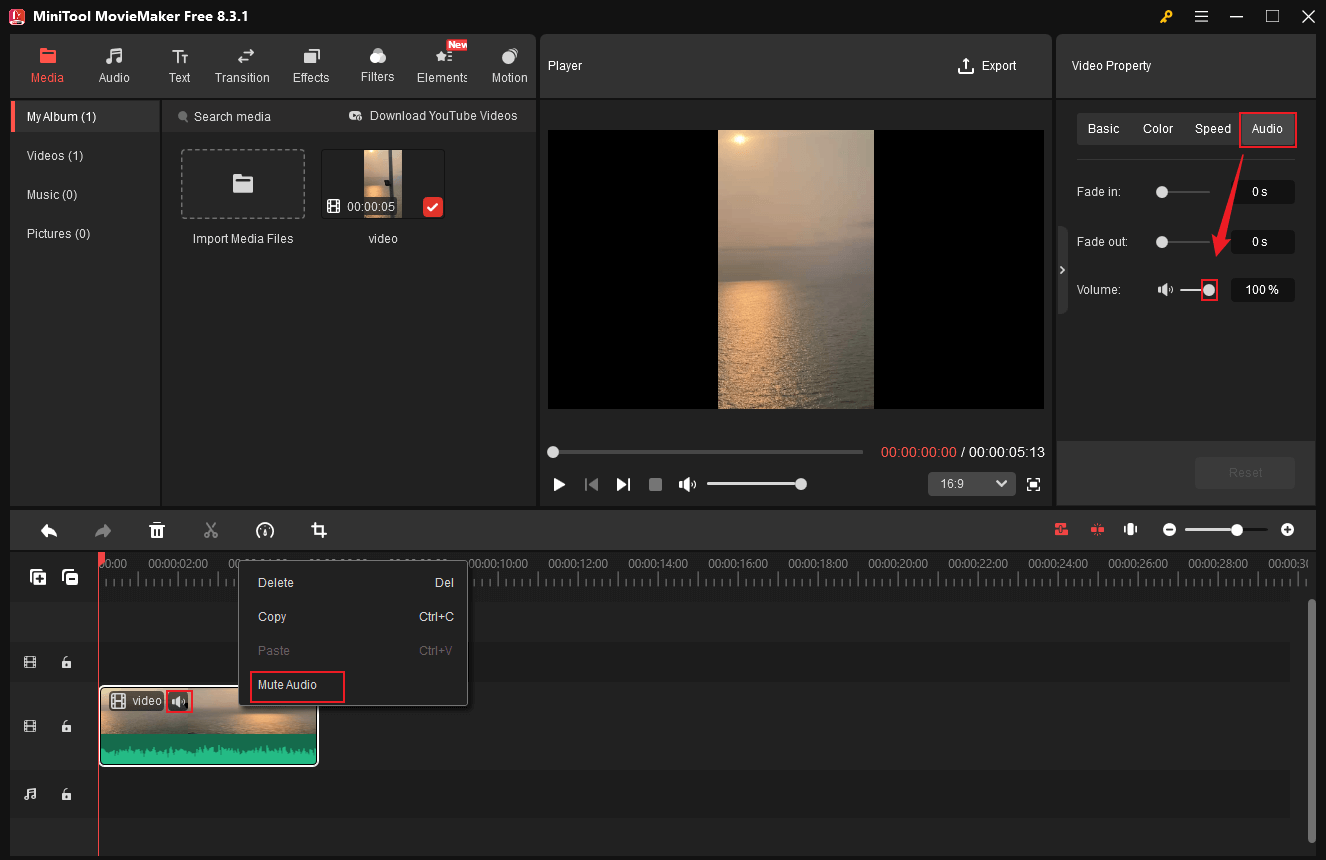
Drag and drop the added RMVB video to the timeline. Remove audio from RMVB with any of the three methods below:
- On the timeline, click the Speaker icon on the video.
- Right-click the video on the timeline and choose Mute Audio.
- Go to Video Property’s Audio section and drag the Volume icon to 0%.
4. Export the RMVB video.
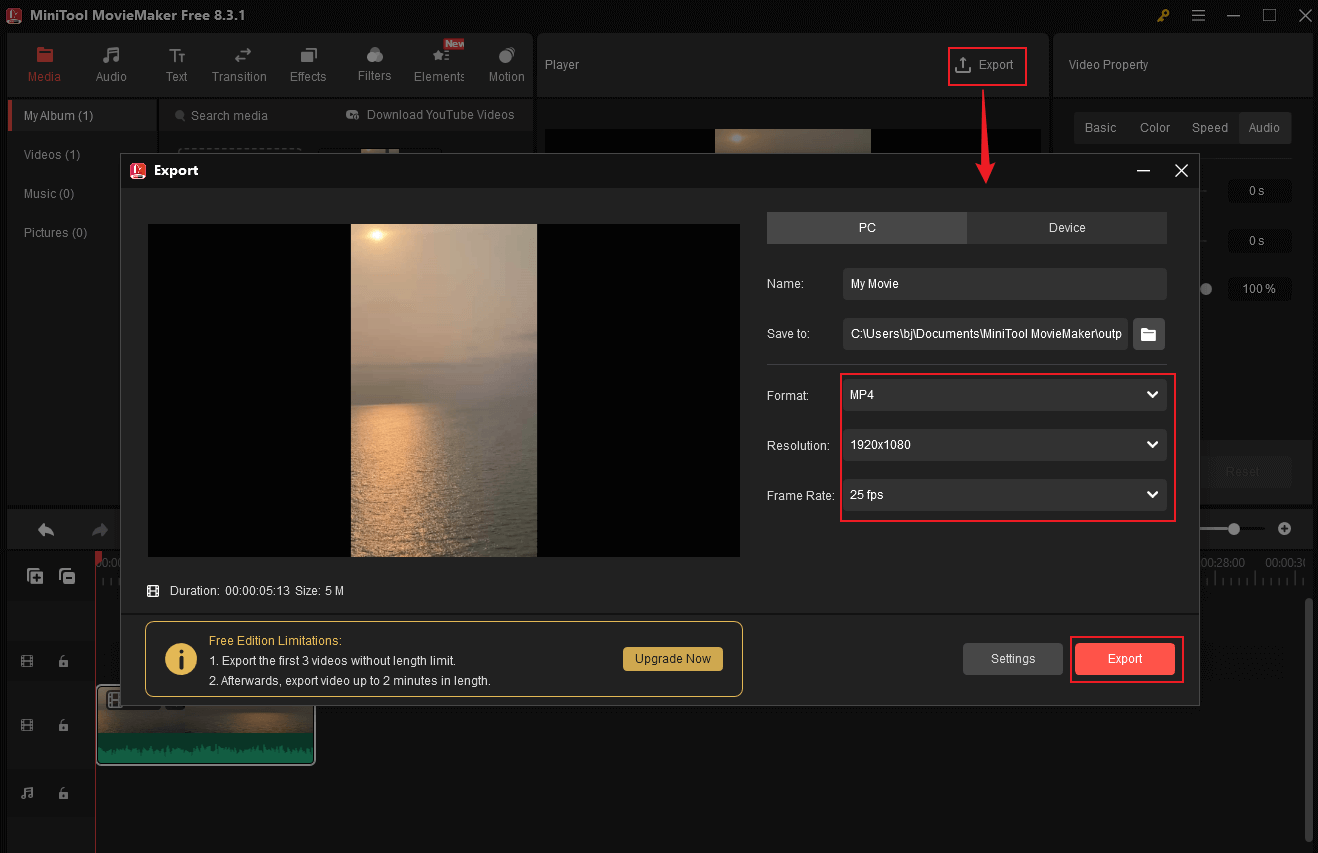
Click the Export icon at the top right of the Player window to open the Export window. Then, choose the frame rate, resolution, and output format based on your needs. After that, click the Export button to save the video to the local folder.
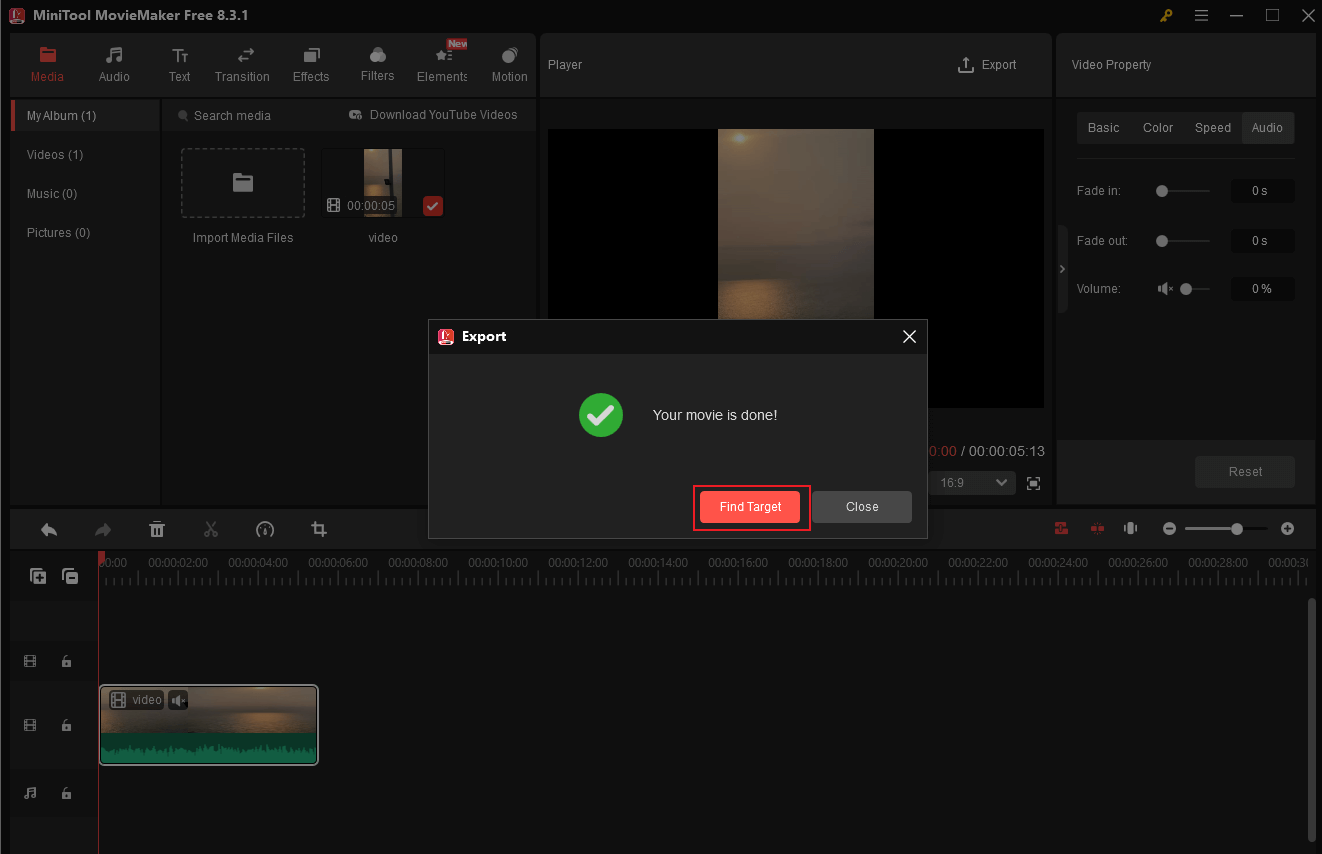
When the exporting process completes, choose the Find Target option to locate the video.
That’s it! MiniTool MovieMaker makes it simple to remove audio from RMVB videos!
![Ultimate Guide on How to Remove Audio from 3GP [3 Tools]](https://images.minitool.com/moviemaker.minitool.com/images/uploads/2025/08/remove-audio-from-3gp-thumbnail.png)
Delete Audio from RMVB with Microsoft Clipchamp
Microsoft Clipchamp is an easy-to-use video editor developed by Microsoft. It can remove audio track from RMVB videos efficiently. Plus, this application has various transitions, caption styles, filters, music, templates, etc. You can add them to your videos as you prefer.
Follow the details below to remove audio from RMVB.
1. Make sure Clipchamp is installed.
Check if Clipchamp is installed on your PC. If not, visit Microsoft Clipchamp’s official website to download and install it. Then, launch this program.
2. Import the target RMVB.
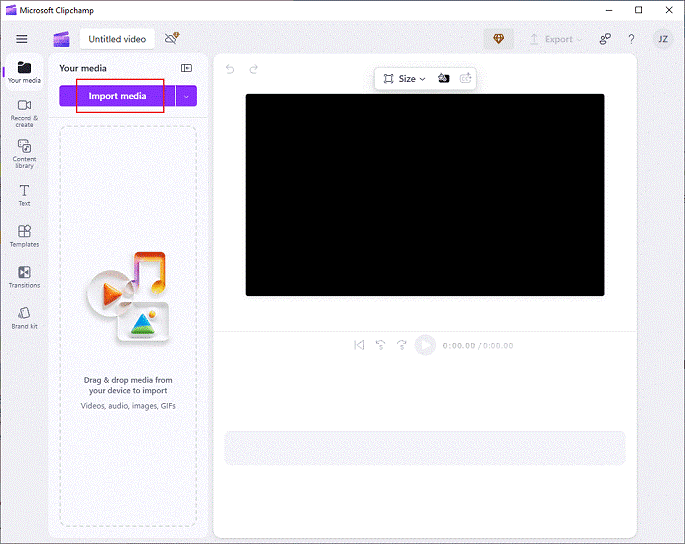
Click on Create a new video to enter the main page. Click the Import media option to add the target RMVB video.
3. Delete audio from RMVB.
Drag the imported video to the timeline. Then, click the Speaker icon on the video to mute it.
4. Export the RMVB video.
Click the Export option at the top right and select the desired resolution (for example, 1080p). Then, click on Save to your computer.
Now, you can check the video in the local folder.
Delete Audio from RMVB with CapCut
CapCut is a professional video editing tool that enables you to remove audio from RMVB quickly and easily. It has an intuitive layout. So even if you’re a beginner, you can handle this application with no effort. Just follow the guides below.
1: Download and install CapCut.
Visit CapCut’s official website to download and install this software on your computer.
2: Add the RMVB video.
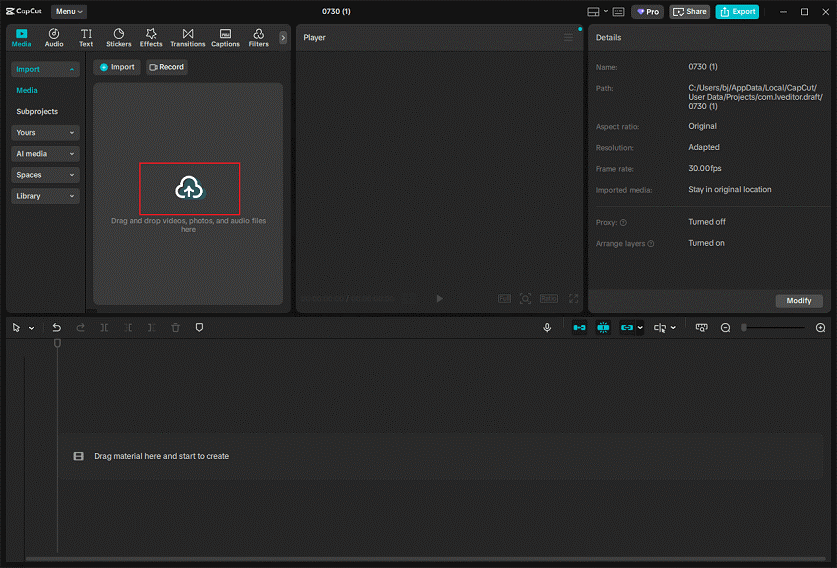
Launch CapCut, click the Create project option, and click the Drag and drop videos, photos, and audio files here area to import your RMVB video.
3: Remove audio from RMVB.
Drag and drop the added video to the timeline. Then, click the Speaker icon on the video track’s left side to mute the video.
4: Export the RMVB video.
Click on the Export icon at the top right. In the Export window, configure the codec, bitrate, frame rate, resolution, and format based on your needs. Then, click the Export option to save the video.
Done!
In Summary
This post provides three free and professional tools and shows you how to delete audio from RMVB step by step. Feel free to select the one you prefer. Hope you find this article helpful!
User Comments :