Obtaining a passport is the first step toward traveling the world. I believe everyone wants their passport photo to be flawless. Having passport photos taken at a professional studio is not only costly and time-consuming but can also be uncomfortable for introverts. Therefore, taking your own photos and converting them to the standard size is a wise choice. Before learning how to convert photo to passport size, let’s take a quick look at passport photo size requirements.
Passport Photo Size Requirements
It is essential to ensure your passport photo is the correct size. Different countries have different passport photo size requirements. Below is a breakdown of common passport photo dimensions for various countries.
- Australia: 35 mm×45 mm
- United States: 51 mm×51 mm
- United Kingdom: 35 mm×45 mm
- Canada: 50 mm×70 mm
- New Zealand: 35 mm×45 mm
- China: 33 mm×48 mm
- Japan: 35 mm×45 mm
Typically, a passport photo requires a plain background. The photograph must depict a natural expression, with the lips closed and the eyes focused squarely on the camera. Lighting should be equal and natural, leaving no shadows on the face or background. Glasses are often not allowed.
How to Convert Photo to Passport Size
Here are three easy and quick methods to get a standard passport photo size.
Method 1. Use Adobe Photoshop
Adobe Photoshop is an industry-leading image editor that offers a wide range of advanced functions, from basic modifications to intricate manipulations, including object removal, color correction, and seamless image merging.
In addition, Adobe Photoshop integrates seamlessly with other applications in the Adobe Creative Cloud suite. However, this image editor requires a subscription. If your budget allows, Adobe Photoshop really deserves a try.
Here’s how to convert a photo to passport size using Adobe Photoshop:
1. Get Adobe Photoshop
Go to Adobe Photoshop’s official website, subscribe, and install it on your computer.
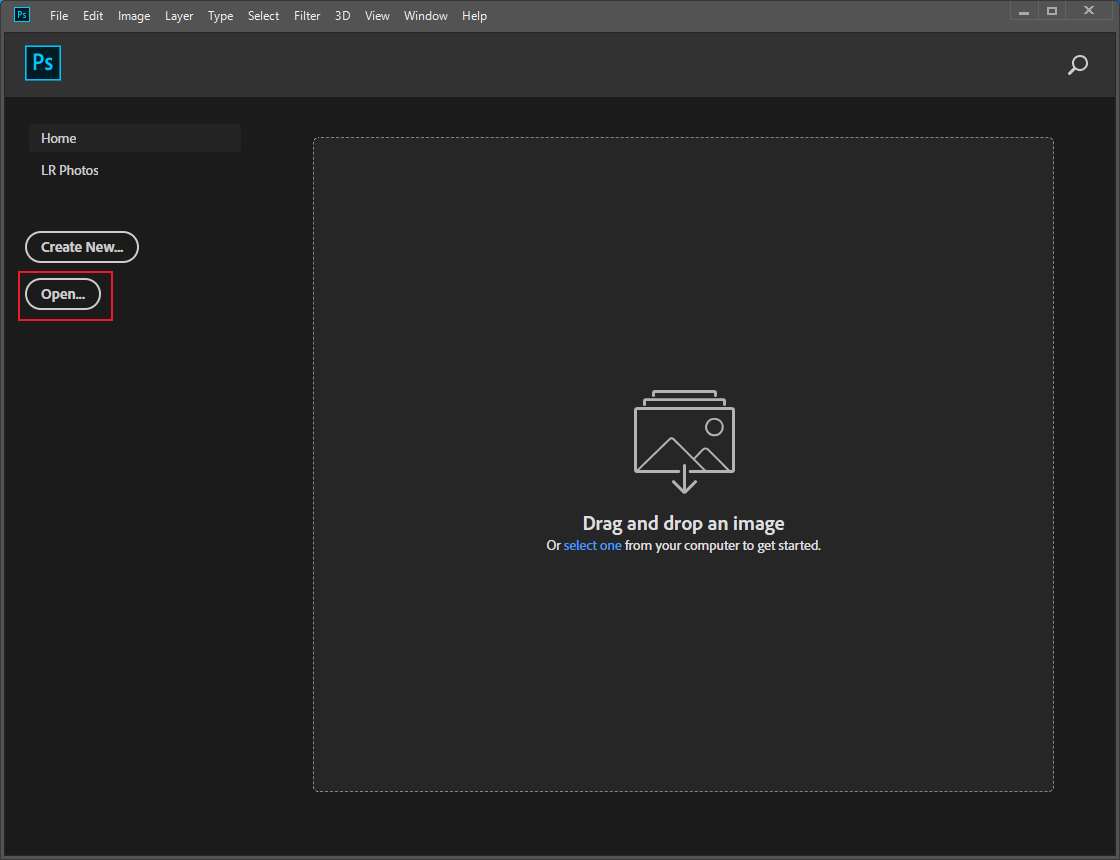
2. Import Your Image
Launch this program and click Open to add the target picture.
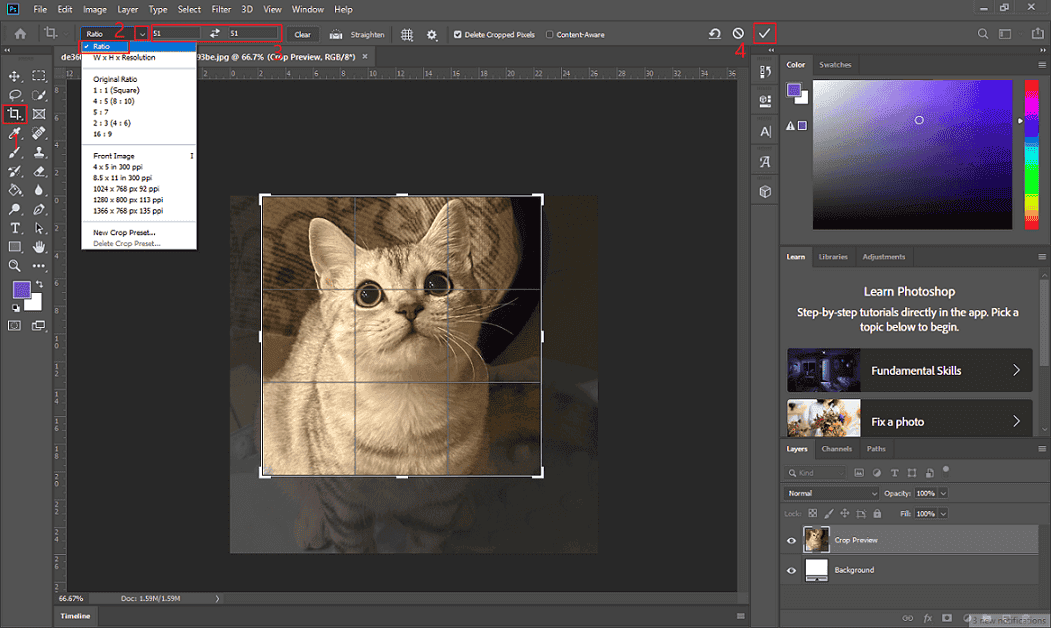
3. Resize the Photo
Click the Crop icon in the left menu. Next, in the top toolbar, make sure you’ve selected the Ratio option. Then, input the desired dimensions. After that, click the checkmark icon to save the changes.
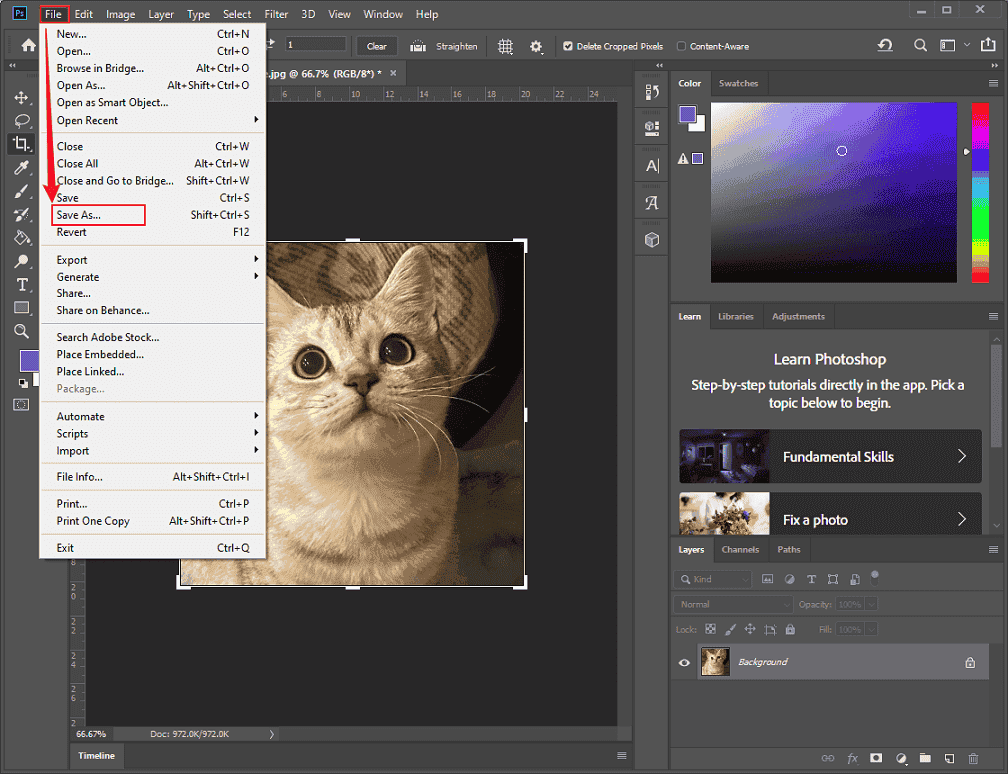
4. Save the Photo
Click the File option at the top left. Then, choose the Save As option to save the photo to your local folder.
Method 2. Use Pi7 Image Tool
Pi7 Image Tool is a professional online tool that can convert photo to passport size in a flash! Whether you’re from the USA, UK, India, or any other country, you can easily get your photo in the proper size with this tool.
Plus, Pi7 Image Tool enables you to adjust image brightness, contrast, and saturation. As well, it supports removing and changing photo background colors! Follow the details below to convert your photo to passport size.
1. Access Pi7 Image Tool’s Passport Photo Size Converter
Visit https://image.pi7.org/passport-size-photo.
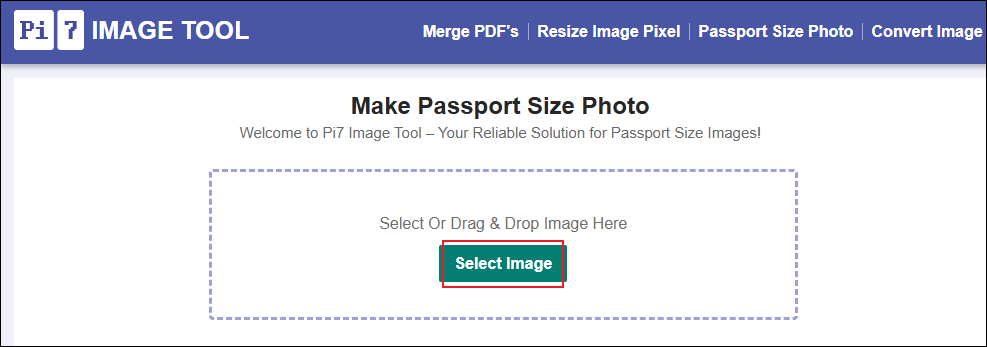
2. Upload Your Photo
Click the Select Image button to upload the photo you want to convert to passport size.
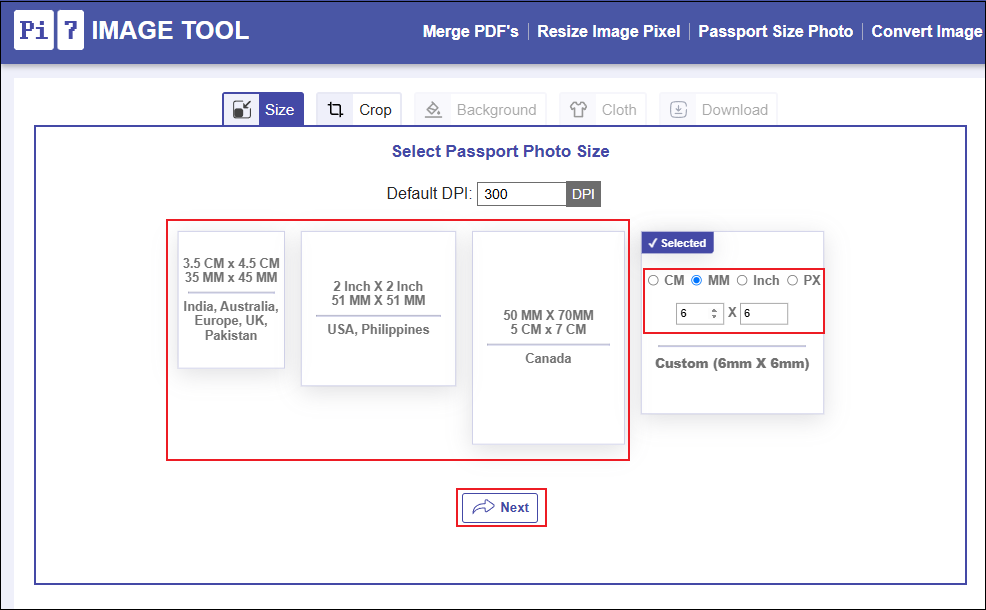
3. Set the Output Photo Size
Passport sizes come in several preset specifications for selection based on requirements. If none meet your needs, enter the parameters in the Custom box. Then, click Next.
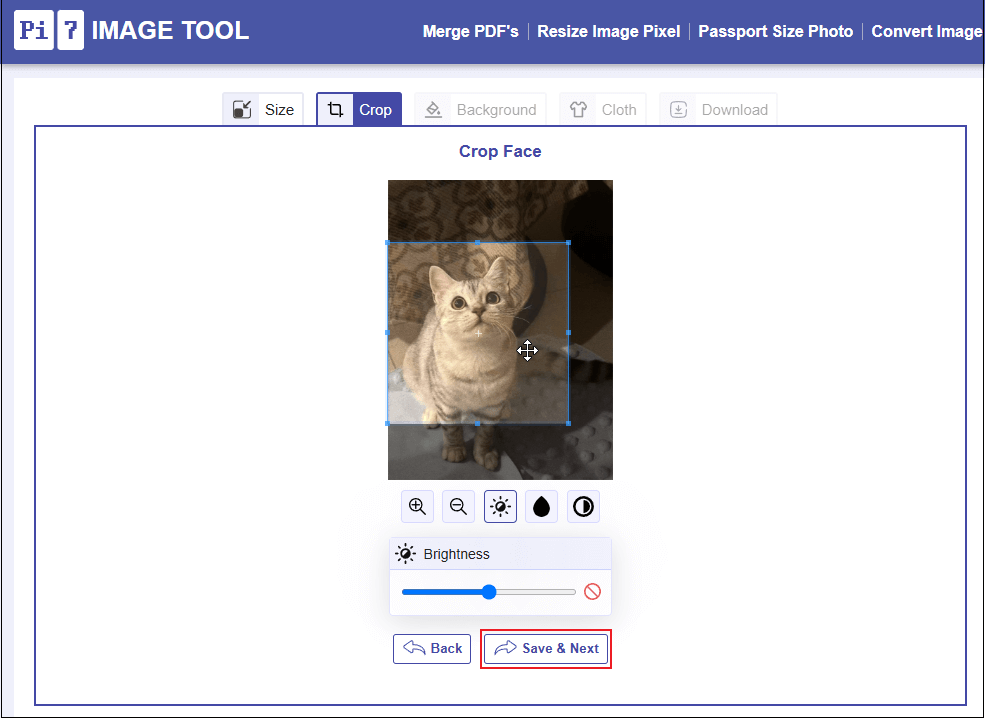
4. Adjust the Photo Settings
Ensure the subject’s face is centered in the frame. Also, you can adjust the brightness, saturation, and contrast based on your needs. Then, click Save & Next.
5. Download the Photo
When the conversion process completes, click the Download button to save the passport-size photo.
Method 3. Use ID Photo 4 You
ID Photo 4 You is also a robust online image converter that offers a quick solution to make your photo in a standard passport size. With no installation, you can convert photo to passport size effortlessly. Just follow the instructions below.
1. Access ID Photo 4 You
Visit https://www.idphoto4you.com/.
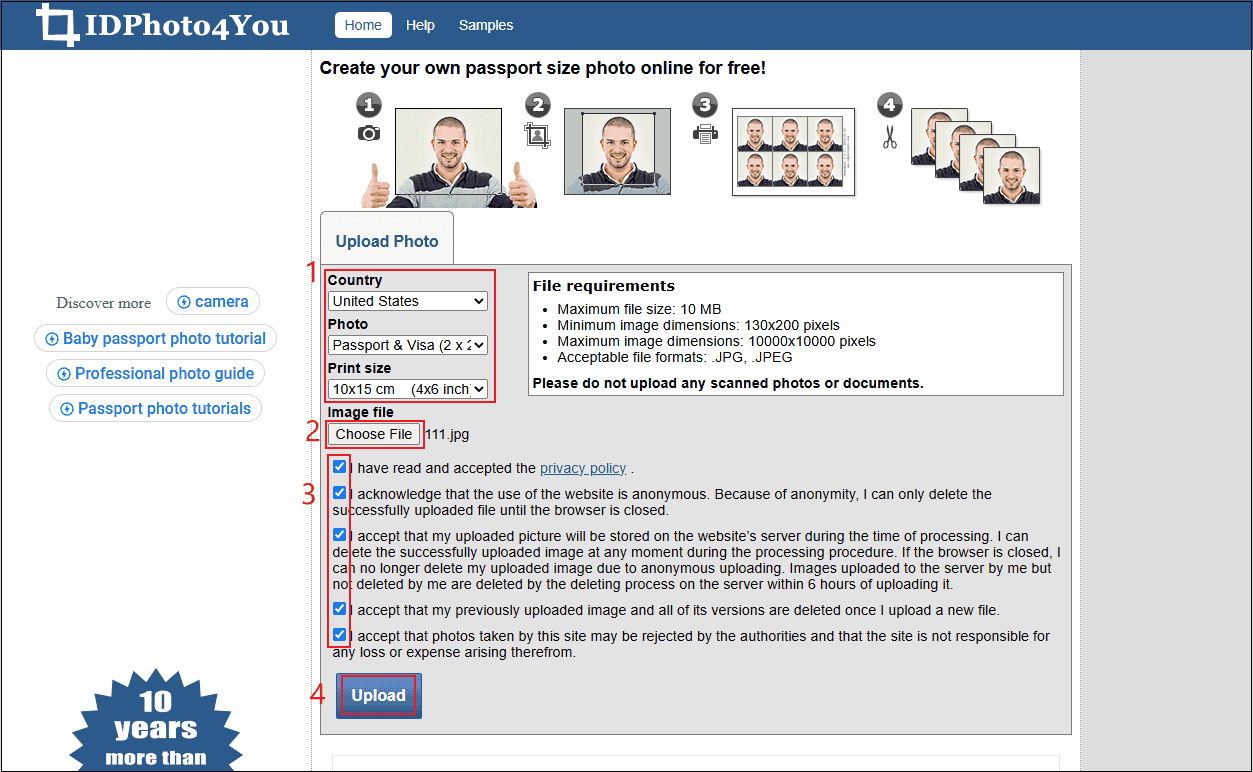
2. Upload Your Photo
Set the desired country, photo size, and print size. Next, click Choose File to upload your picture. Tick all the terms and click Upload.
3. Adjust Brightness and Contrast
Set the photo brightness and contrast based on your needs. Then, click Next.
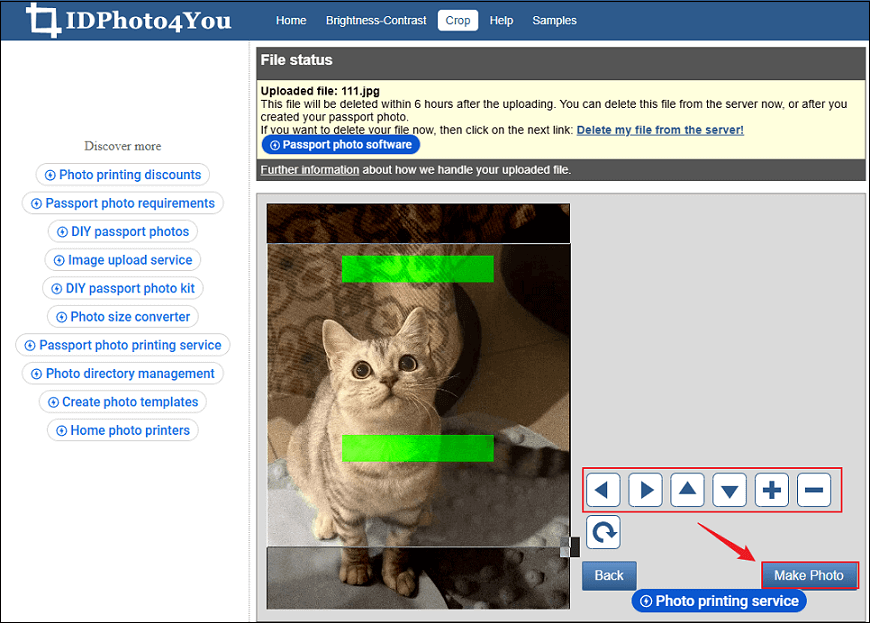
4. Download the Photo in Passport Size
Adjust the photo to make sure the object’s face is in the center. Click Make Photo. Then, click the Download button below the picture.
All done!
MiniTool MovieMakerClick to Download100%Clean & Safe
In Summary
To convert photo to passport size, this post recommends three useful methods. Feel free to select the one you prefer. Hope this article can do you a big favor!
User Comments :