This post demonstrates how to add clipart to photos with Canva, Pixelied, and Fotor. Elevate your image effortlessly with eye-catching clipart.
What Is Clipart?
Clipart is a collection of pre-made, often simple and stylized graphics, images, or illustrations designed to add visual elements to documents, presentations, websites, and other projects.
Adding clipart is a fantastic way to inject personality and humor into your images and effectively enhance visual appeal. So, this post guides you through three ways to add clipart to photos.
How to Add Clipart to Photos
Explore the following three clipart photo editors to browse thousands of clipart images and use them to decorate your own photos in just a few clicks.
Method 1: Canva
Canva is a popular graphic design platform that allows anyone to create professional-looking images, posters, videos, social media graphics, and presentations. Featuring a simple drag-and-drop interface and thousands of customizable templates, Canva is an ideal choice for both beginners without design experience and experienced users to unleash their creativity.
Canva also offers a clipart library of illustrations, icons, symbols, borders, stickers, frames, and more to spice up and enhance your design.
How to add clipart to a photo using Canva? Here are the steps.
Step 1: Upload Your Image to Canva
Navigate to Canva.com and sign in with your account. Enter the design page and click Upload files to select the desired photo from your computer. Next, drag it to the page in the center of the screen.
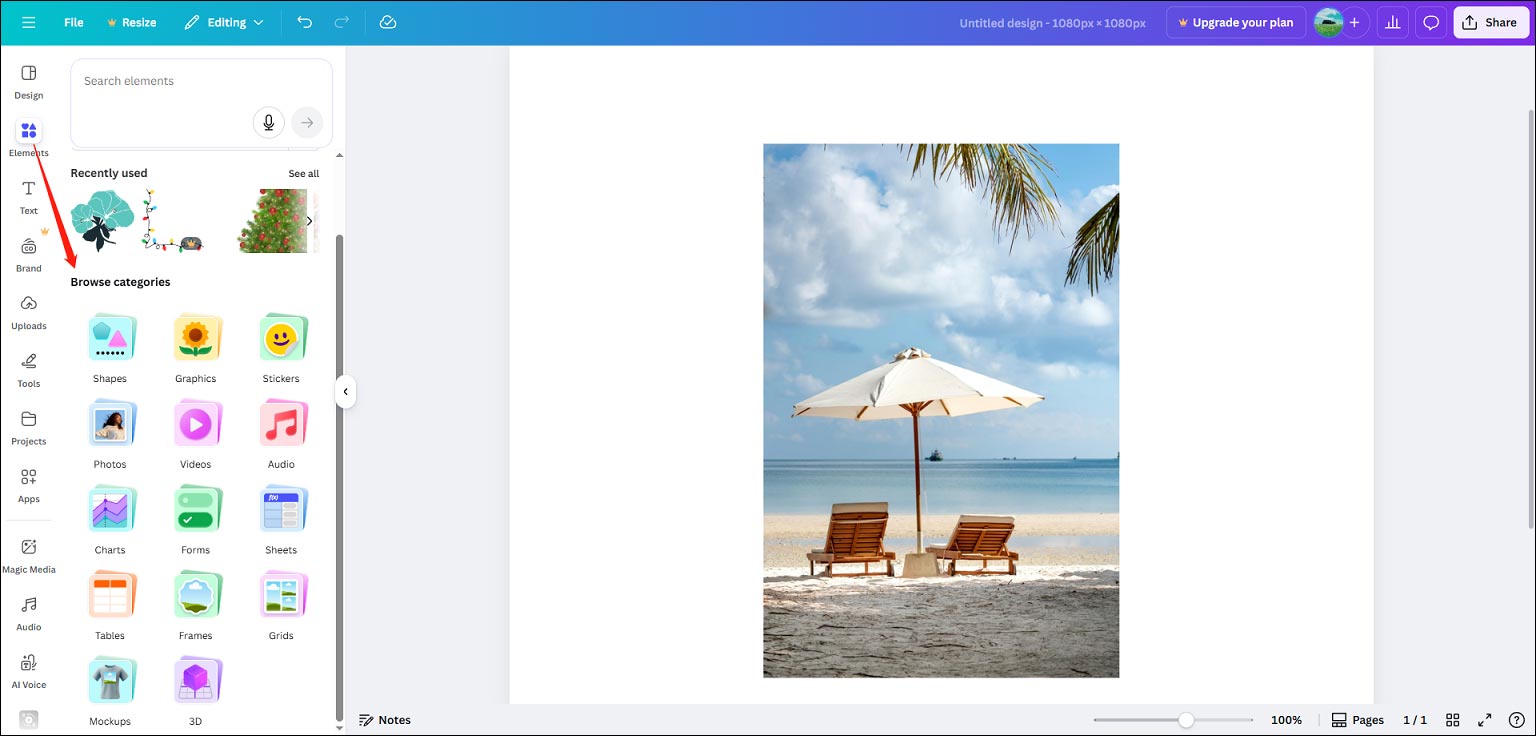
Step 2: Add Your Favorite Clipart
Select Elements on the left sidebar, then choose a category like graphics, stickers, shapes, or frames to browse the library. Click the clipart image you like to add it to your image.
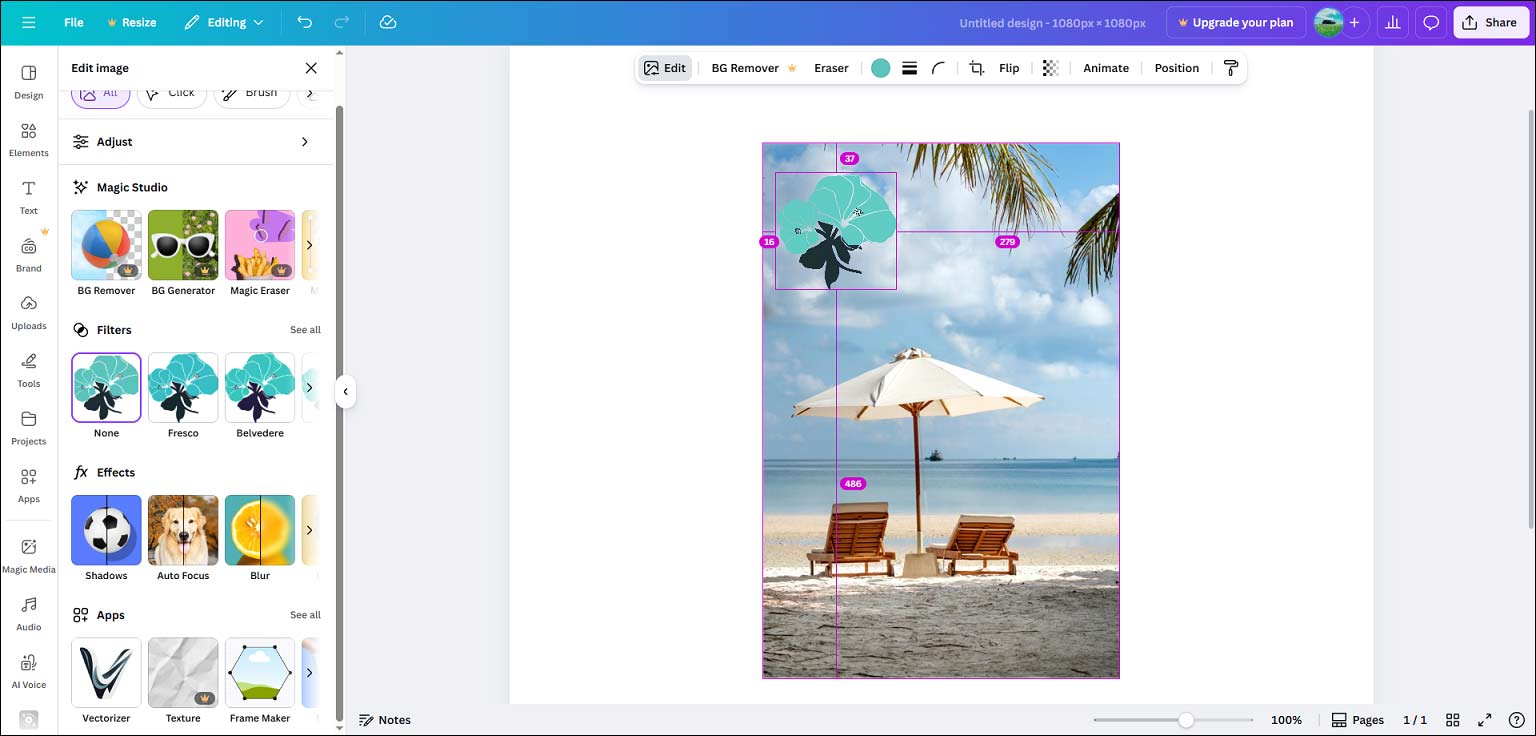
Step 3: Edit the Clipart
Next, you can resize the clipart and position it anywhere on your image. Also, you can click Edit at the top to apply filters or effects, or adjust the color and light of the clipart.
Step 4: Save Your Photo
Click Share in the top right corner, select Download, then choose a format, and click Download again to save the image to your PC.
Method 2: Pixelied
Pixelied is also an online photo editor and graphic design platform. It comes with a large collection of illustrations, elements, mockups, icons, and more to spice up your designs. It also allows you to create images, icons, illustrations, logos, and more with the power of AI.
Additionally, Pixelied provides multiple tools to make your images more eye-catching, such as background blurring, photo colorizer, image sharpener, filters, etc.
Here’s how to add clipart to photos with Pixelied.
Step 1: Upload Your Photo
Open Pixelied’s online clipart photo editor (https://pixelied.com/features/add-clipart-to-photo) in your browser. Click the Upload Your Image option to open your target photo.
Step 2: Add Clipart Images
You can select Illustrations from the left toolbar and choose your preferred category, such as avatars, characters, education, gaming, social media, and more. Then, browse the content library until you find your favorite ones. Click any illustration to put it over your original image directly.

Alternatively, you can go to Elements to add various icons (such as arrows, shapes, emojis, sparkles, video icons, and more) to decorate your image.
Step 3: Edit the Clipart
Drag the sliders of the clipart to adjust its size, or move the clipart to change its position. You can also select and drag the top slider to rotate the clipart. Besides, you can add borders or shadows, or change the opacity of the clipart.
Step 4: Export the Image
Click the Download icon next to the Print Design option, choose an image format, and click Download to save the image to your PC.
Method 3: Fotor
Fotor is a powerful online photo editor that offers a suite of tools and effects to help you create high-quality images. Its intuitive interface and easy-to-use tools effectively simplify the creation process, making it a great choice for everyone to elevate their photos.
Fotor offers a variety of clipart images suitable for a wide range of themes and projects. If you want to add clipart to photos, don’t miss this platform.
Step 1: Upload a Photo to Fotor
Navigate to Fotor.com and sign in with your account. Click AI Photo Editor on the homepage, then click the Upload Image button to add your photo.
Step 2: Choose Clipart
Click Elements on the left sidebar, and then you can enter a keyword to search for clipart. Also, you can browse by categories to find your favourite clipart to decorate your image.
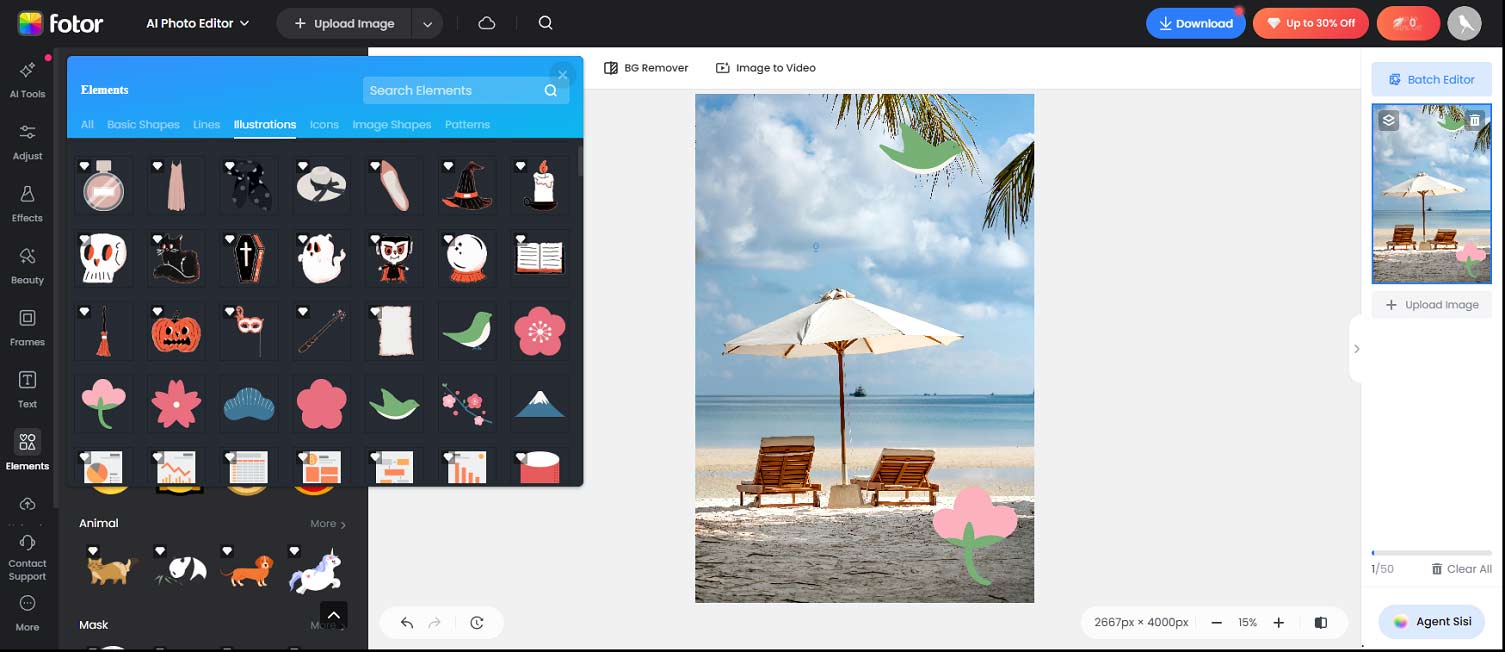
To add an illustration, an icon, or a shape to your image, simply click it. Then, you can adjust its size and position on the image.
Step 3: Save the Image
Click the Download button and choose the format, PNG or JPG, to save the photo.
Furthermore, Fotor is also a clipart maker. It enables you to turn your photo into clipart by removing the background and adding outlines or other elements. This service also lets you customize the built-in clipart by changing the size, color, orientation, and more to design your own clipart.

Conclusion
This post offers 3 simple methods to add clipart to photos. It’s your turn now. Follow the steps above and enhance your image with eye-catching clipart.
About The Author

Position: Columnist
Cora is a tech writer specializing in digital media workflows, with over six years of hands-on experience in video post-production, media transcoding, and screen capture. Her writing is always clear and practical. Cora also produces in-depth software reviews for users across skill levels to help them find the right tool and enjoy video editing.
User Comments :