There is no denying that voice-over is increasingly popular and plays an important role in our videos. This article written by MiniTool MovieMaker aims to solve the problem of how to add voice over to YouTube video in easier ways.
What Is Voice-Over and Why We Need It?
The Definition of Voice-Over
Voice-over is a unique production technique that is often used in video games, television production, filmmaking, theatre, or other types of audiovisual work. Simply put, the voice-over is a narration or explanation of a video spoken and recorded by someone.
There are two main types of voiceovers – narration and non-narration. In narration, a voice is used to describe the action on-screen and tell a story based on what’s happening. In non-narration, the voiceovers are usually instructional or educational.
The Significance of Voice-Over
Learning how to add voice over to YouTube video is conducive to presenting information for viewers so that your audience will have a clear understanding of your video content.
There is almost 80% of the traffic on the Internet comes from videos. And the videos with voice-overs can get more attention. So, relying on the voice-over is one of the best ways to make your YouTube videos stand out.
The Basic Way to Add Voice-Over to YouTube Video on PC
Voice-over is usually prerecorded and placed over a video. So, you need to find a tool to record the voice-over and tweak it afterward, as well as a video editor to add the voice-over to your video.
So, the following content attempts to recommend several voice-over recorders and user-friendly video editing software for you. It is the best method to answer you about how to add voice over youtube video.
Top 3 Voice-Over Recorders for Windows PC
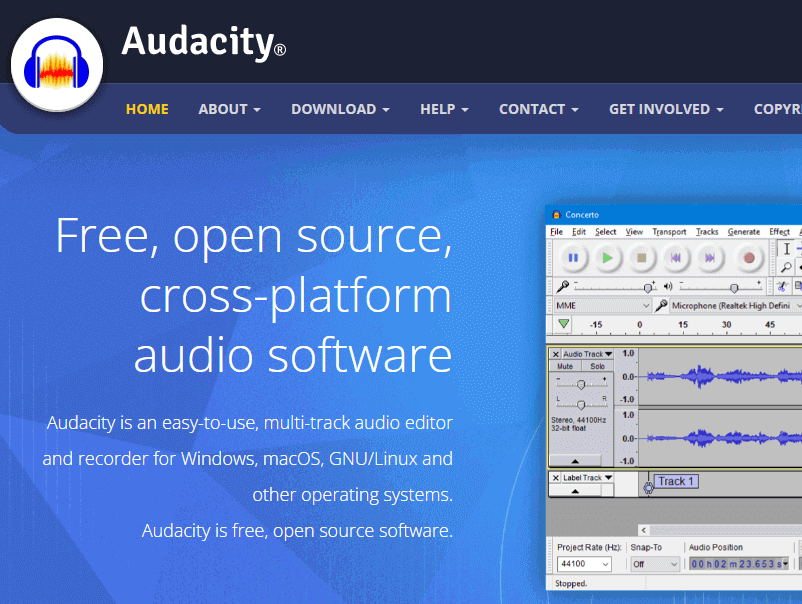
#1. Audacity
Audacity, being widely used, is a free and open-source audio voice-over recorder and can be used for post-processing of all types of audio. It is available for Windows, macOS, Linux, and other Unix-like operating systems.
Compared with other common audio recorders and editors, Audacity may be the most professional software to solve the problem of how to add your voice over to YouTube video.
It offers multi-channel recording, which means you can record and edit two separate channels of audio at the same time on the same computer.
Pros:
- It offers free-of-cost voice functionalities.
- Many different file formats are supported to export your recording.
Cons:
- Audacity is more suitable for professionals.
- Having various professional and complex tools means that it consumes heavy space on your hard drive.
#2. Veed Voice Recorder
As a free digital voice recording tool, Veed provides an easy way to record high-quality audio and share them instantly. It is compatible with lots of devices, such as Windows PC, Mac, Android, iPhone, etc.
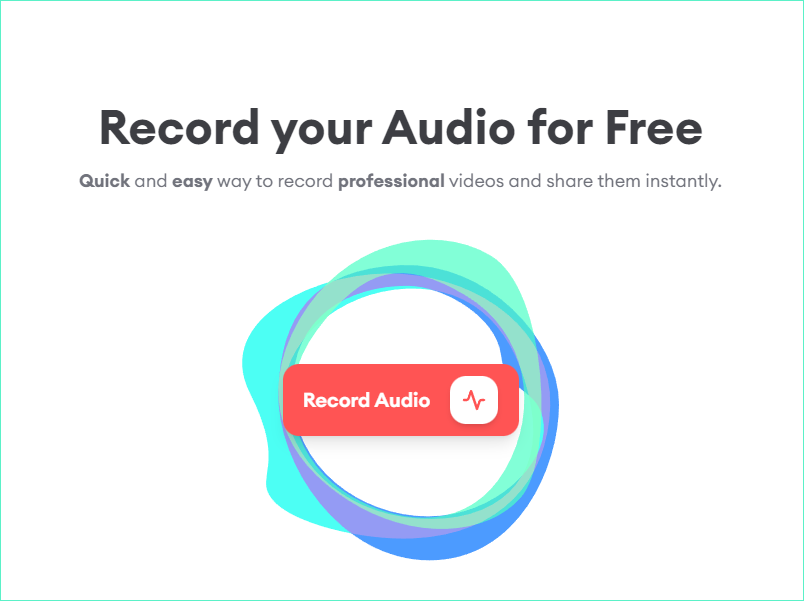
The online voice recorder can not only record your voice but also record your screen and webcam. If you want nothing but the audio from your microphone, you can click Audio Only. Additionally, you may need to click Allow permission to use your microphone.
Then, you are able to press the red button to start or stop your recording. There will be a 3 seconds countdown which appears to give you time to prepare well.

Pros:
- Veed enables you to clean the background noise automatically, even if you are in a noisy environment.
- You can use the tool to record voice memos and share via a link with your colleagues and customers to enhance internal team communication.
Cons:
- Some features are only available with more expensive plans.
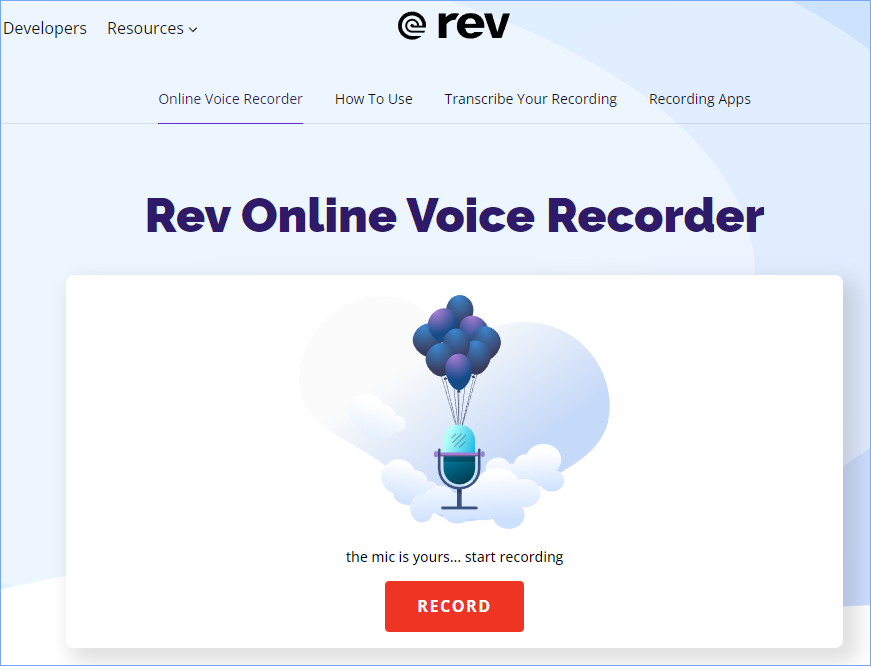
#3. Rev Online Voice Recorder
Enriched with features and tools, Rev can provide a high-quality and intuitive voice recording for you without downloading. Especially its audio effects feature, making it stand out in the audio editing marketplace.
After finishing the voice recording, you can fast-forward, rewind, and trim your audio. Moreover, Rev provides a human transcription service, enabling you to transcribe your voice recording to text.
Pros:
- Rev guarantees your privacy and security. Your recordings won’t be collected or uploaded to Rev’s servers.
- Besides the online voice recorder, Rev offers a Voice Recorder app that is free to download on iPhone and Android.
Cons:
- The voice you recorded only can be downloaded in MP3 format.
- If you want to transcribe your online voice recording to text, you have to pay for it.
Before your voice recording, be sure to connect a microphone.
The Best Video Editing Software for Adding Voice-Over to Your Video
MiniTool MovieMaker is an easy-to-use and feature-rich video editor, available for beginners with a concise and intuitive interface, so you won’t have any problems understanding what to do. It will be your best YouTube video editor for adding a voice-over.
Step 1. Download and follow the software instructions to install MiniTool MovieMaker on your PC.
MiniTool MovieMakerClick to Download100%Clean & Safe
Step 2. Launch it and close the popup window to enter the main interface.
Step 3. Click on the Import Media File button to import the videos that you want to add voice-over to. Adopt the same way to import audio files of the voice-over that you have recorded before. The selected file will appear in the Media library.
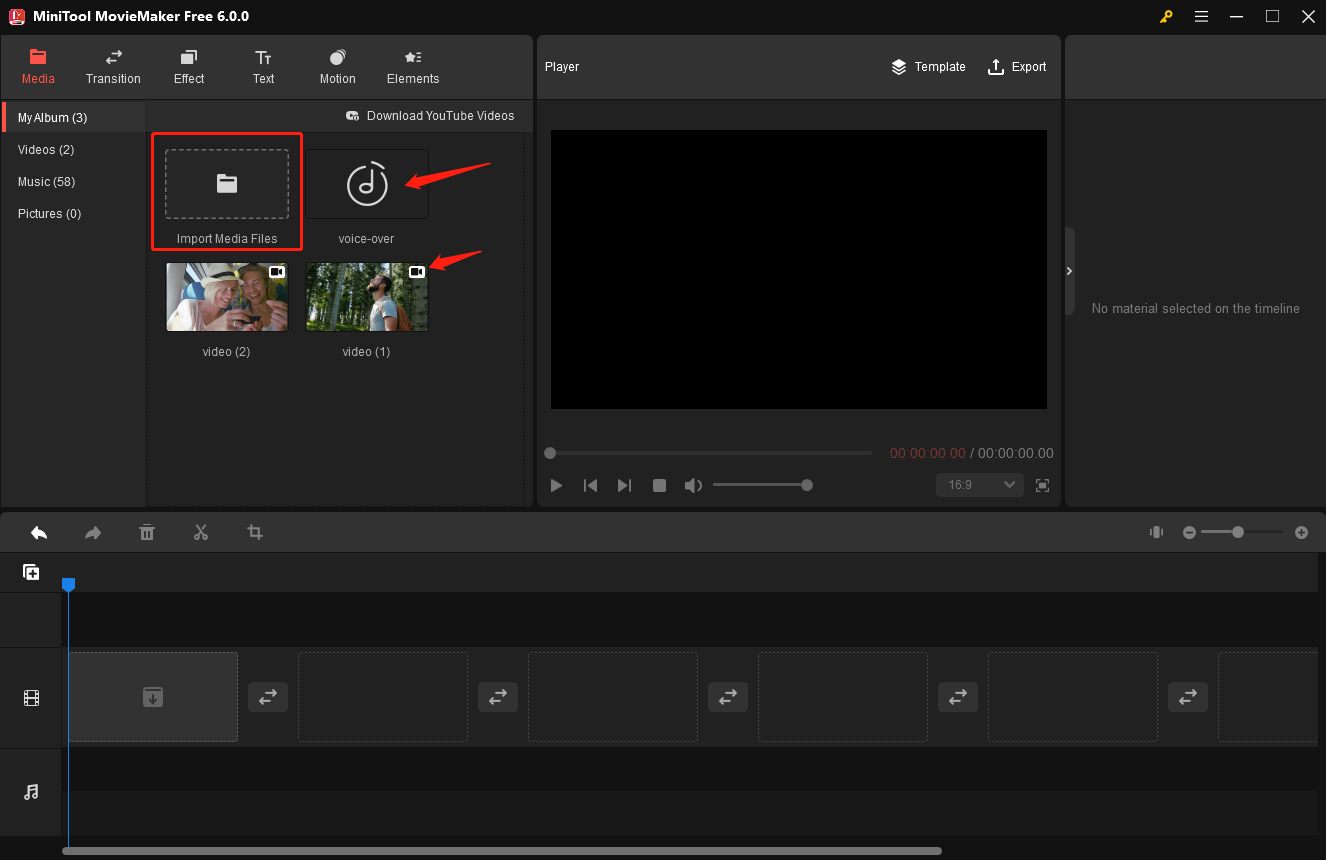
Video files all come with a video recorder icon, music files come with a music symbol, and pictures come with nothing.
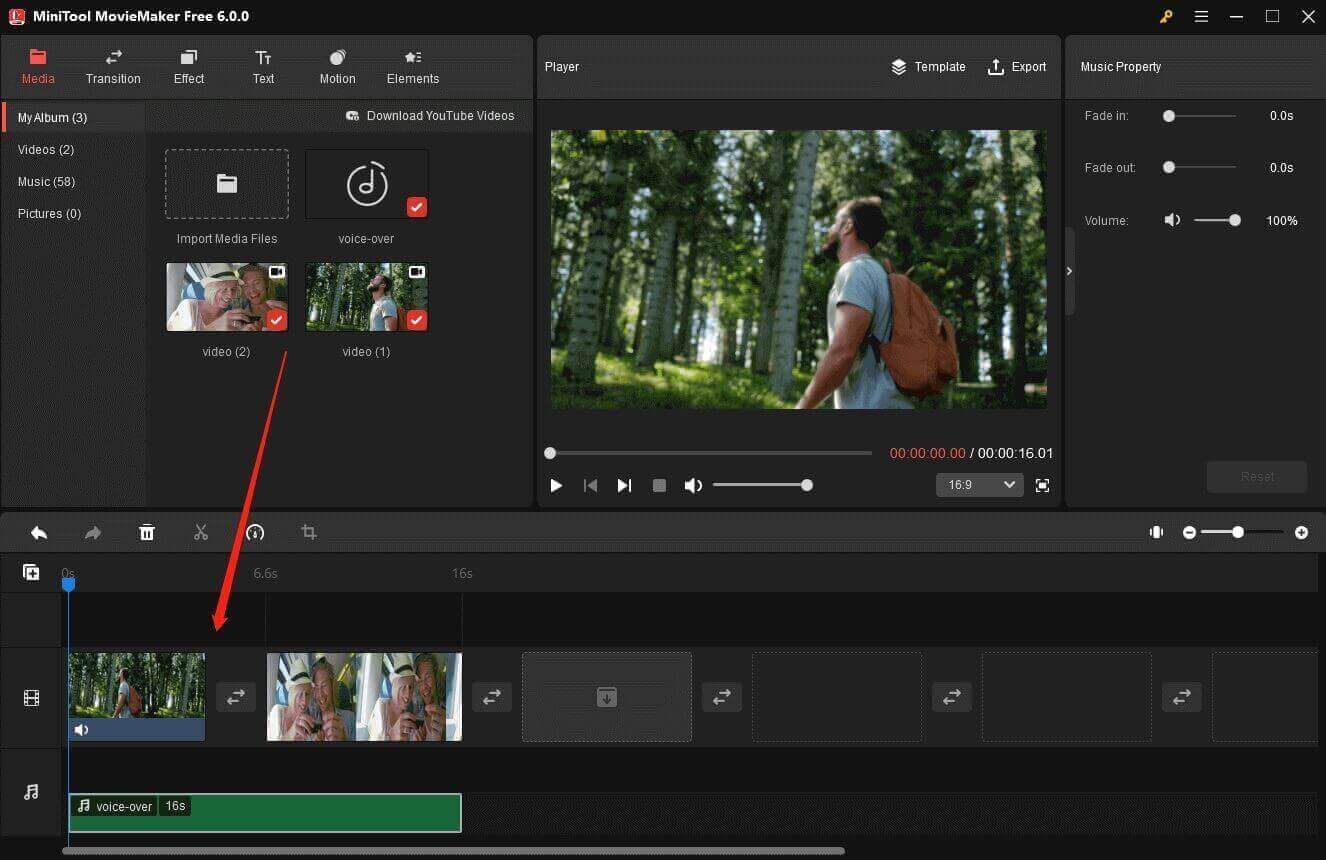
Step 4. Drag your videos from Media Library and drop them to the timeline, as well as drag your voice-over files to the audio track.
Step 5. Now you can edit the video clips, such as splitting, trimming, rotation, and color correction. Besides, the video editor offers nearly 60 filters and 200 animated elements to enrich your video.
Step 6. Edit the voice-over on the audio track. MiniTool video editor supports audio splitting, trimming, and speed changing.
Split voice-over
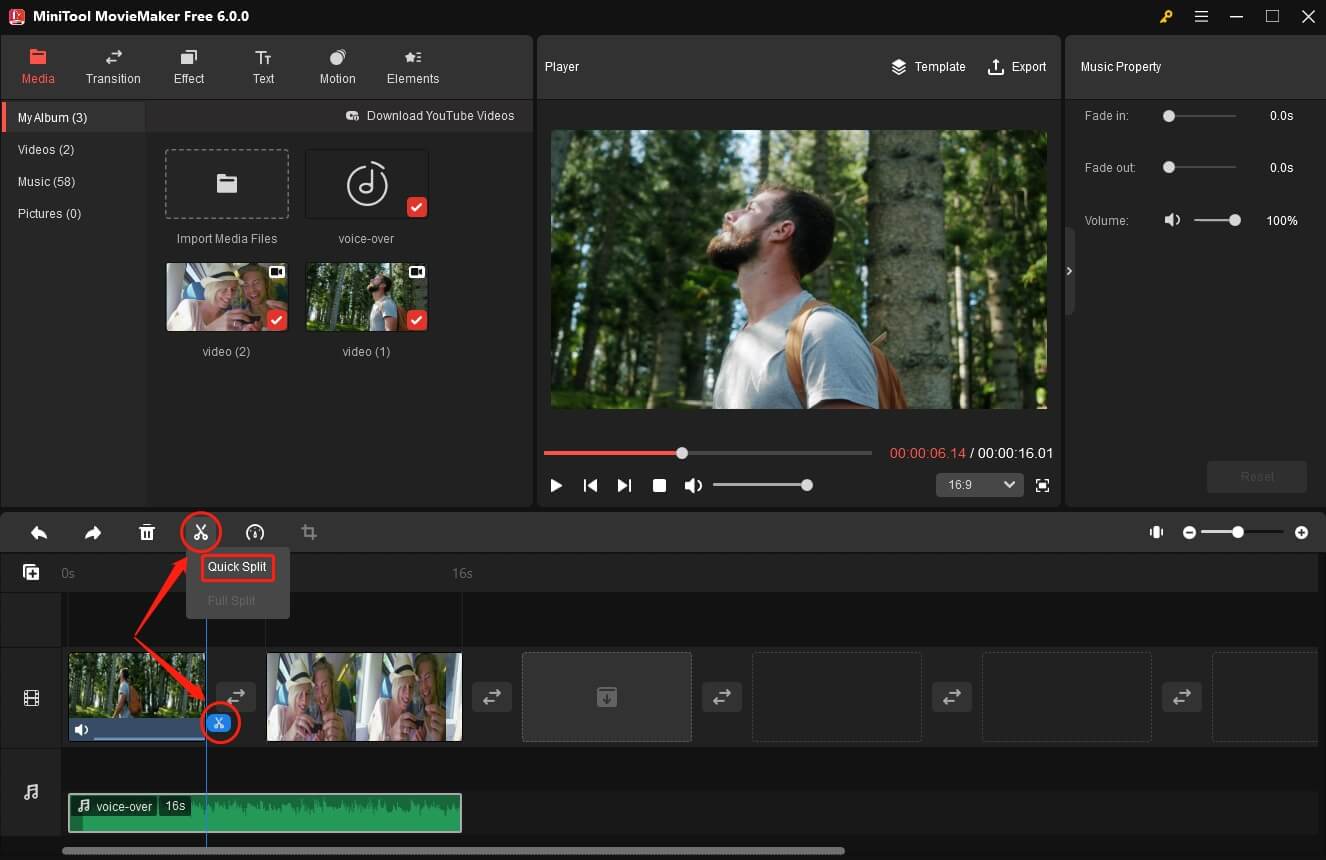
Choose the audio file and drag the playhead to the target place. Then, find the scissors icon on the playhead or timeline toolbar to select Quick Split. After splitting, the audio will be divided into two parts, so you can delete the one you don’t need.
Trim voice-over
Put your mouse on the beginning or end of the audio. When your mouse cursor turns into a double-headed arrow, you can pull it rightwards or leftwards to shorten the voice-over.
Change the speed of voice-over
Two options to change the audio’s speed are Slow and Fast. Click the Speed icon on the timeline toolbar to choose Slow to prolong your audio or to choose Fast to shorten your audio.
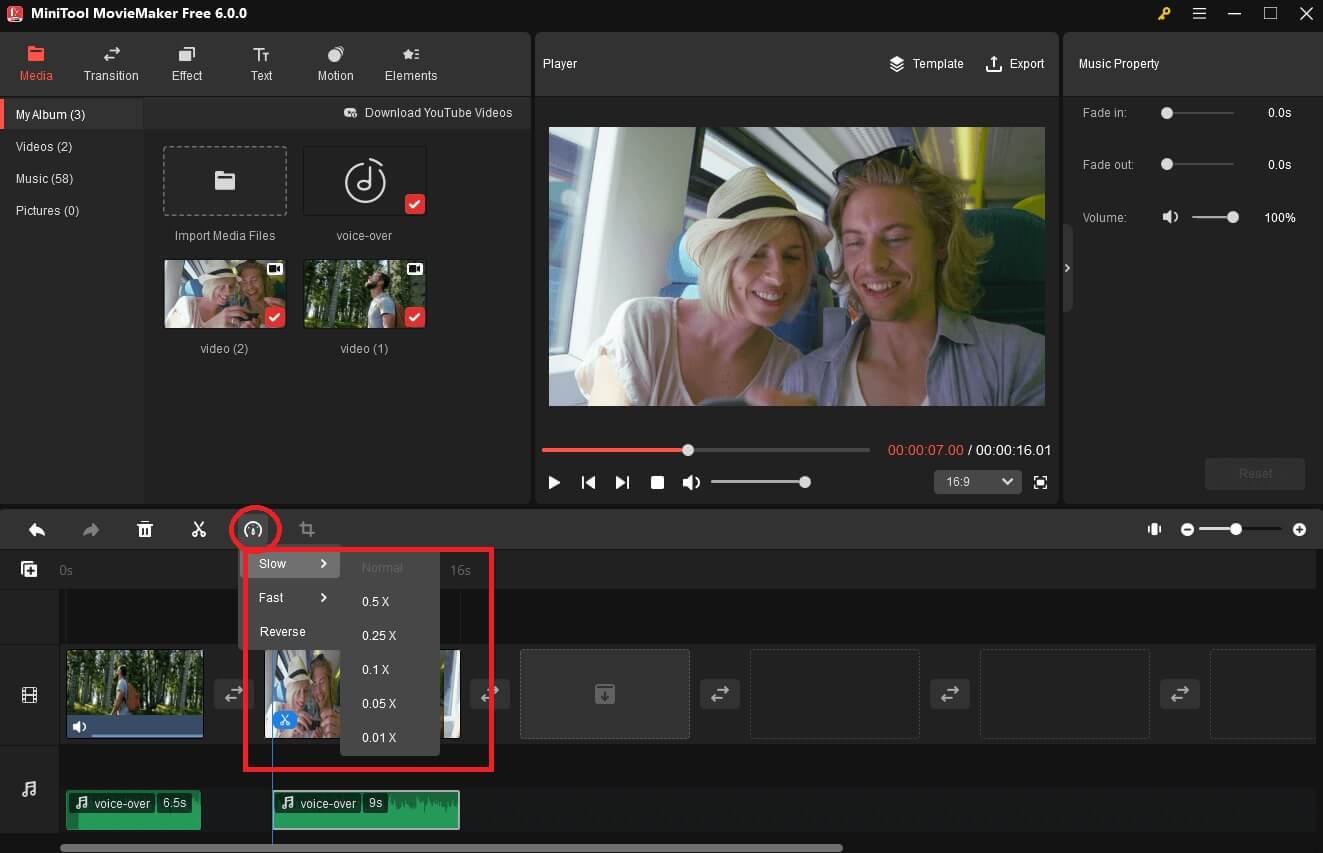
There are six options to slow down your audio – Normal, 0.5X, 0.25X, 0.1X, 0.05X, and 0.01X. And six options can be chosen to speed up your audio –Normal, 2X, 4X, 8X, 20X, and 50X.
Change the location of the voice-over
Put your mouse on the audio. When your cursor turns into a four-headed arrow, drag the audio on the timeline and move it to the destination. Furthermore, you are allowed to add multi-audio to your videos.
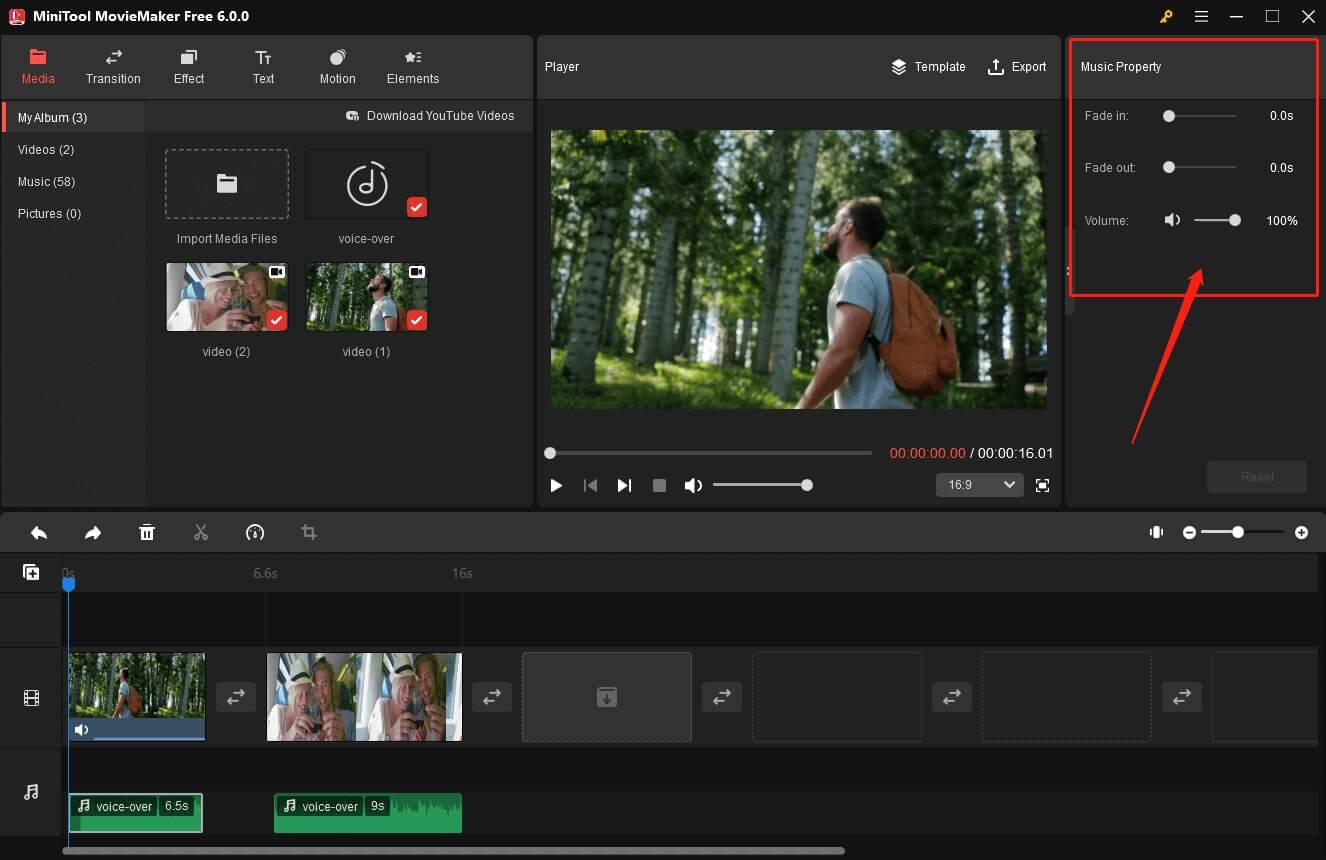
Step 7. Choose the audio on the timeline to open its editing window – Music Property. You are allowed to apply fade-in or fade-out effects to audio and Move the Volume slider to make your voice-over quieter/louder.
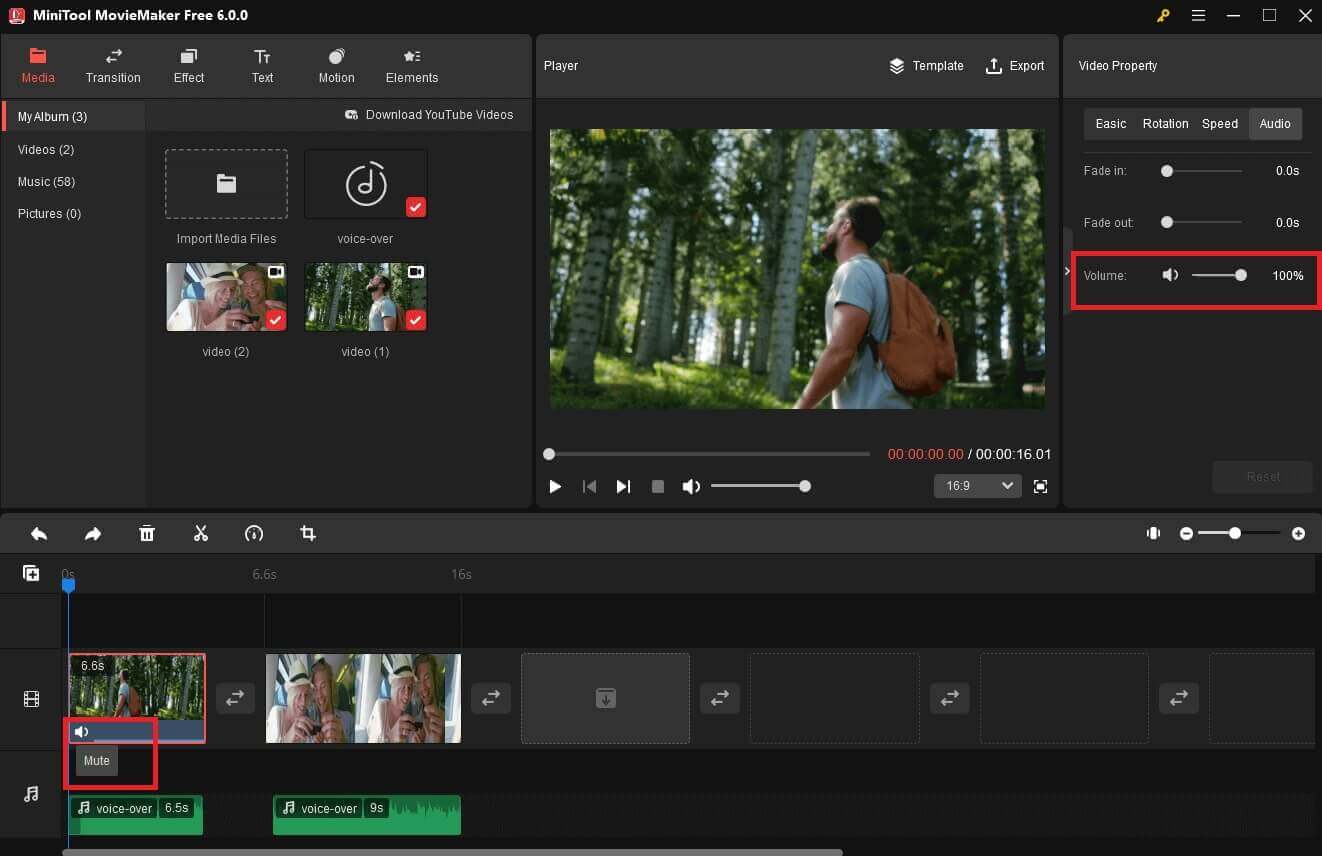
If the video clip you add to the timeline has loud background music that interferes with your commentary, you can click the Speaker icon on the video clip on the timeline to mute it.
Also, you can choose the video clip and move the Volume slider to the far left on the Music Property to mute its embedded sound.
Step 8. After finishing the above operation, you can click Export on the top right of the Player window to save your videos.
MiniTool MovieMaker is really a wonderful tool that has helped me add my voice-over to my video as well as trim the sound to what I want. – twitter
Next, it’s time to upload your voice over video to your YouTube Channel. If you would like to figure out how to add voice over to YouTube video that’s not yours, MiniTool uTube Downloader may give you a hand. It supports getting YouTube videos and converting videos in various formats.
MiniTool uTube DownloaderClick to Download100%Clean & Safe
A Quicker Way to Add Voice-Over to YouTube Video on PC
Nowadays, in addition to the traditional method that can help solve the problem of how to add voice over to YouTube Video, some software promotes a quicker and easy way to realize it. They provide users with all the tools they need to create a decent voice-over video.
Below is the recommended software with both the feature of voice recording and video editing. However, the free edition of the software usually cannot realize the two features.
#1. Movavi
Movavi Video Editor is a powerful tool that includes both voice-over recording and adjusting features. Here are a few simple steps about how to add your voice over to YouTube video.
Step 1. Click Add Files button to select and add your videos. Then, drag and drop them into the timeline.
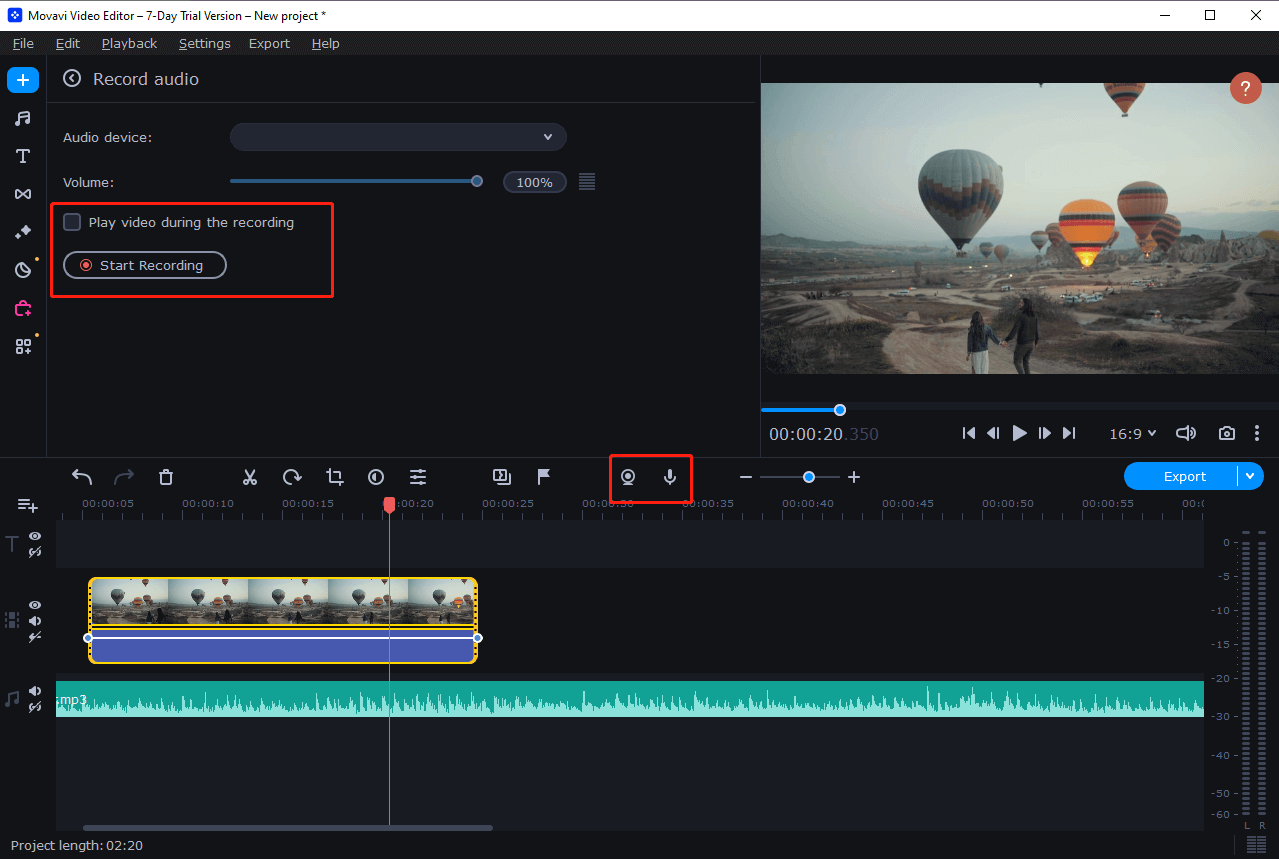
Step 2. Click the Record Audio button above the timeline to see the audio recording options. Select your recording device from the Audio device list.
Step 3. Place the playhead at the point on the timeline where you want to start the voice-over and click Start Recording.
Step 4. Click the Export button and choose the format in which you want to save the voice over video.
Step 5. It’s time to upload the video to your YouTube channel.
#2. FilmForth
FilmForth is also a proper utility, making it easy to add voice-over to YouTube videos. Let’s see how to make use of it!
Step 1. Click on New Project to start a new video project of adding voice over video. You can rename your project and decide where the project file is saved.
Step 2. Click ADD VIDEO/PHOTO CLIPS button to add your video to the timeline.
Step 3. Click on the Voiceover button situated in the bottom dashboard. There will pop up a microphone icon on the screen. Tap on it to begin your voice-over recording.
Step 4. Save the final work by clicking the Save Video button on the main screen of the project.
Although it can directly make a voice-over video without downloading an extra voice-over recorder, the function of audio editing may be limited. You can’t move, cut and edit the audio track.
Tips for Creating a Professional Voice-Over YouTube Video
#1. Keep Your Narration within a Certain Pace
You’d better avoid recording the voice-over in the same tone all the time, which may make your audience feel bored and lose interest to watch your videos.
So, you try to deliver the correct highs and lows, the pauses, and the right flow throughout the narration. Not too many pauses, nor speaking too fast or too slow.
#2. Write a Script For Your Narration in Advance
Before reading and recording your narration, you’d better consider writing a script of what you want to say. It will ensure your voice-over sounds well-paced and professionally produced.
A script will prevent you from deviating from the topic and enables you to present your opinions completely and clearly.
#3. Find a Quiet Space with No Outside Noise
If you pursue the ultimate quiet, you can record in a soundproof room where special materials are put up to absorb excess noise. However, if you are not a professional, using headphones is worth a try, which can also help eliminate background noises that may be picked up by the microphone.
After all, any ambient noise from your surroundings can cause distortions in the sound quality and clarity of your voiceover.
#4. Provide High-quality Sound
When it comes to producing professional-quality sound, there are several considerations to keep in mind.
Be sure that there is sufficient space between you and the microphone. Otherwise, distortions are likely to occur when you are speaking loudly. And try your best to the right microphone for your price range and purposes.
Conclusion
All in all, this article has covered high-quality voice-over recording software and the best video editor for Windows users. Now you must know how to add voice over to YouTube video. Go ahead and select the most suitable one amongst them!
In addition, if you encounter problems while using MiniTool MovieMaker, please contact us via [email protected] or leave a comment below. We will get back to you as soon as possible.
User Comments :