There’re many tools to add borders to photos from desktop applications, and online tools, to mobile apps. This post is going to provide clear steps about how to add borders to photo in Word, how to add borders to photo in Photoshop, and how to add borders to photo online. And if you want to make videos from photos, you can try MiniTool MovieMaker.
How to Add Border to Photos in Word
Here’re the clear steps about how to add borders to photos in Word.
Step 1. Open your Word document.
Step 2. Select the photo that you desire to add border to.
Step 3. Click Picture Tools Format > Picture Border.
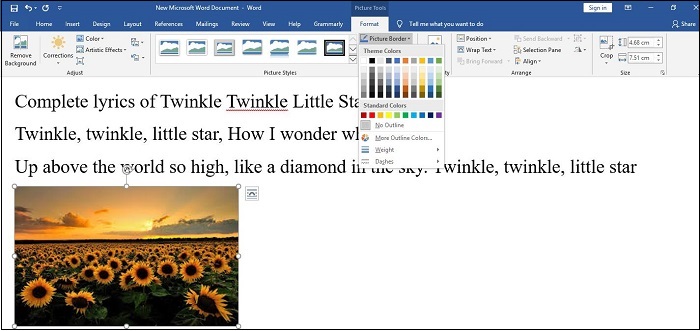
Step 4. Choose the color of the border.
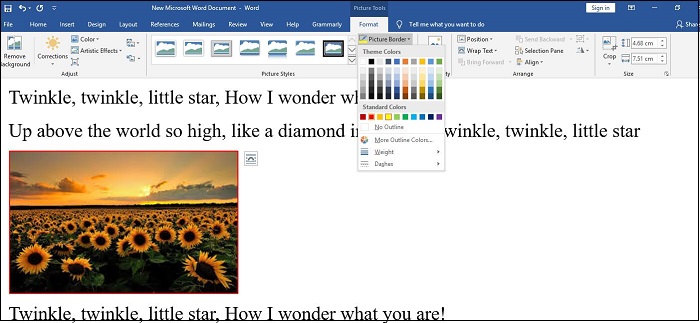
Step 5. Click Picture Border again to change the width and line style of the border.
Related article: Top 9 Best Picture Resizers (100% Free)
How to Add Border to Photos Online
There are many online tools that help people add border to photos online. Here’s the list of the top 6 online tools to add border to photos.
Top 6 Online Tools to Add border to Photos
- BeFunky
- Fotor
- Canva
- Pizap
- Tuxpi.com
- Ribbet.com
But how to add border to photos? Let’s take BeFunky for example. BeFunky is a powerful online photo editor and it can crop images and resize pictures, and so on.
Here’re the clear steps about how to add border to photos online. (BeFunky)
Step 1. Search for BeFunky and enter its official website.
Step 2. Click Get Started > Edit a Photo > Continuing Editing to present its editing options.
Step 3 Right-click the mouse to choose your photo from computer.
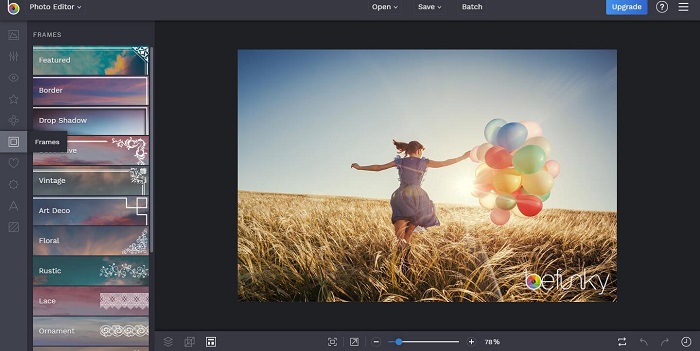
Step 4. Click Frames to prepare for adding border to photos.
Step 5. Tap on the Border to choose outer color and inner color, adjust inner thickness, corner radius, and caption space.
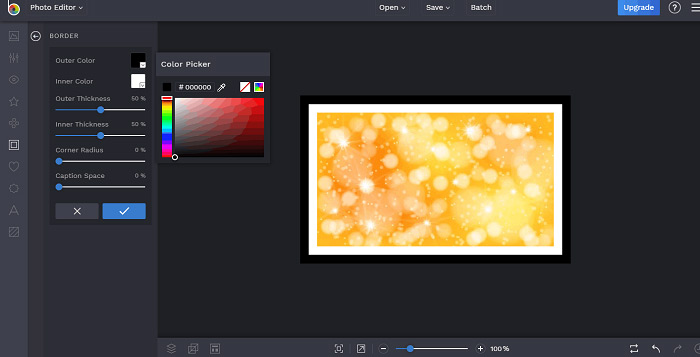
Step 6. Click OK to save the photo in BeFunky.
How to Add Border to Photos in Photoshop
Photoshop is a photo, image, and design editing software for Windows and macOS. Now, let’s look at the clear guide on how to add border to photo in Photoshop.
Step 1. Download, install, and launch Photoshop.
Step 2. Click File > Open to import the photo that you desire to add border to.
Step 3. Tap on the Layer > Flatten Image.
Step 4. Click Layer > New > Layer from Background > Ok.
Step 5. Click Edit > Stroke to set color and width of the border, and choose Inside in the location part.
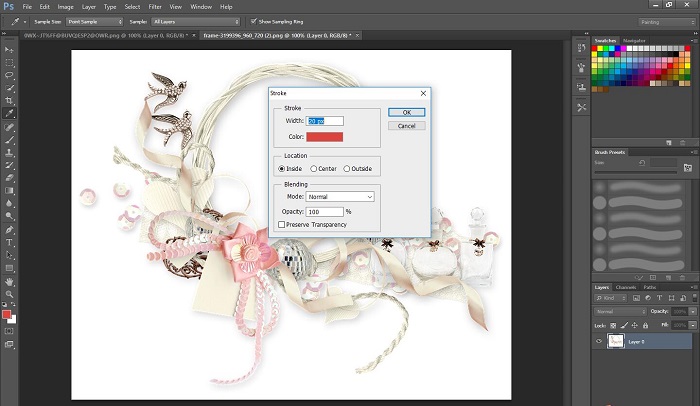
Step 6. Click OK to save the photo to the photo on the computer.
You may also like: 8 Best Photoshop Alternatives You Must Know
Bottom Line
This post introduces 3 ways to add border to photos quickly and easily. If you want to share other methods, you can leave them in the below comments area.
About The Author

Position: Columnist
Cora is a tech writer specializing in digital media workflows, with over six years of hands-on experience in video post-production, media transcoding, and screen capture. Her writing is always clear and practical. Cora also produces in-depth software reviews for users across skill levels to help them find the right tool and enjoy video editing.
User Comments :