If you use Google Slides to make slides, then this article from MiniTool MovieMaker (a Windows video editor) will help you. Sometimes, you may need to insert a video to enrich your slides. Do you know how to loop a video in Google Slides? Don't worry, this article will give you a detailed introduction.
Google Slides is a powerful tool for creating presentations, and you can add multimedia elements like videos to enhance your slides. Do you know how to embed a video in Google Slides? In this guide, I will show you how to loop a video in Google Slides step by step and provide the best alternative method using a dedicated video editing tool – MiniTool MovieMaker.
How to Loop a Video in Google Slides
Let’s see how to loop a video in Google Slides.
Step 1: Open your Google Slides presentation and go to the target slide.
Step 2: In the top menu, click on Insert, then choose Video from the dropdown options.
Step 3: You can either search for your video on YouTube or use the Google Drive tab to select a video saved there. Simply paste the YouTube URL or browse your Drive, then select the video and click the Insert button to insert the video into the slide.
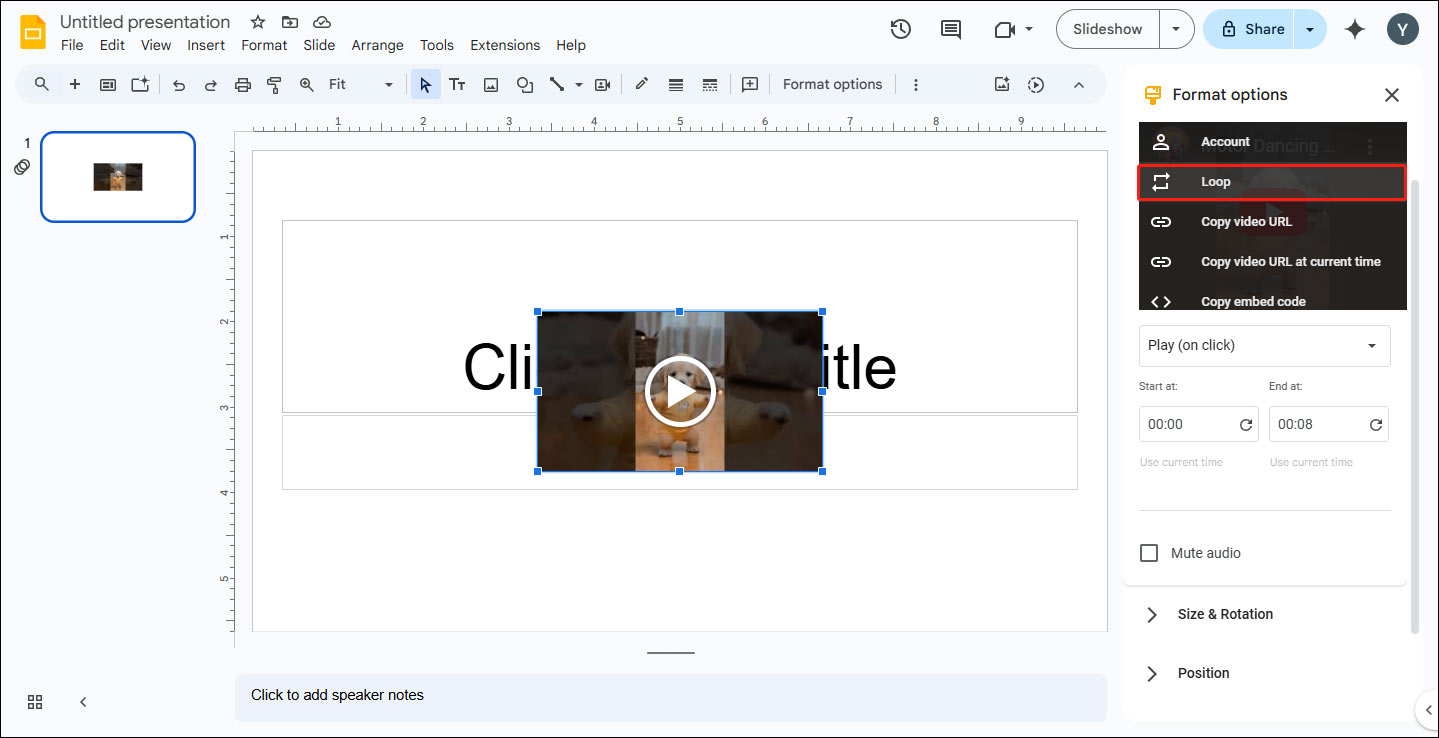
Step 4: To loop YouTube video in Google Slides, once the video appears on your slide, click on it to select it. The Format options sidebar will appear.
Step 5: Right-click on the video in the sidebar and choose the Loop option. This will cause the video to restart automatically once it finishes playing, allowing it to continuously repeat during your presentation.
Best Alternative Way: Loop Video in MiniTool MovieMaker
Some users may prefer to use a more dedicated video editing tool to create the looping effect. One great alternative is MiniTool MovieMaker, a free video looper that offers an easy way to loop videos before adding them to Google Slides.
Here’s how to loop a video using MiniTool MovieMaker:
Step 1: First, download and install MiniTool MovieMaker on your computer. It’s a free program, so you can get started right away.
MiniTool MovieMakerClick to Download100%Clean & Safe
Step 2: After opening the program, click on the Import Media Files button to load the video you want to loop into the program. You can import multiple videos if needed.
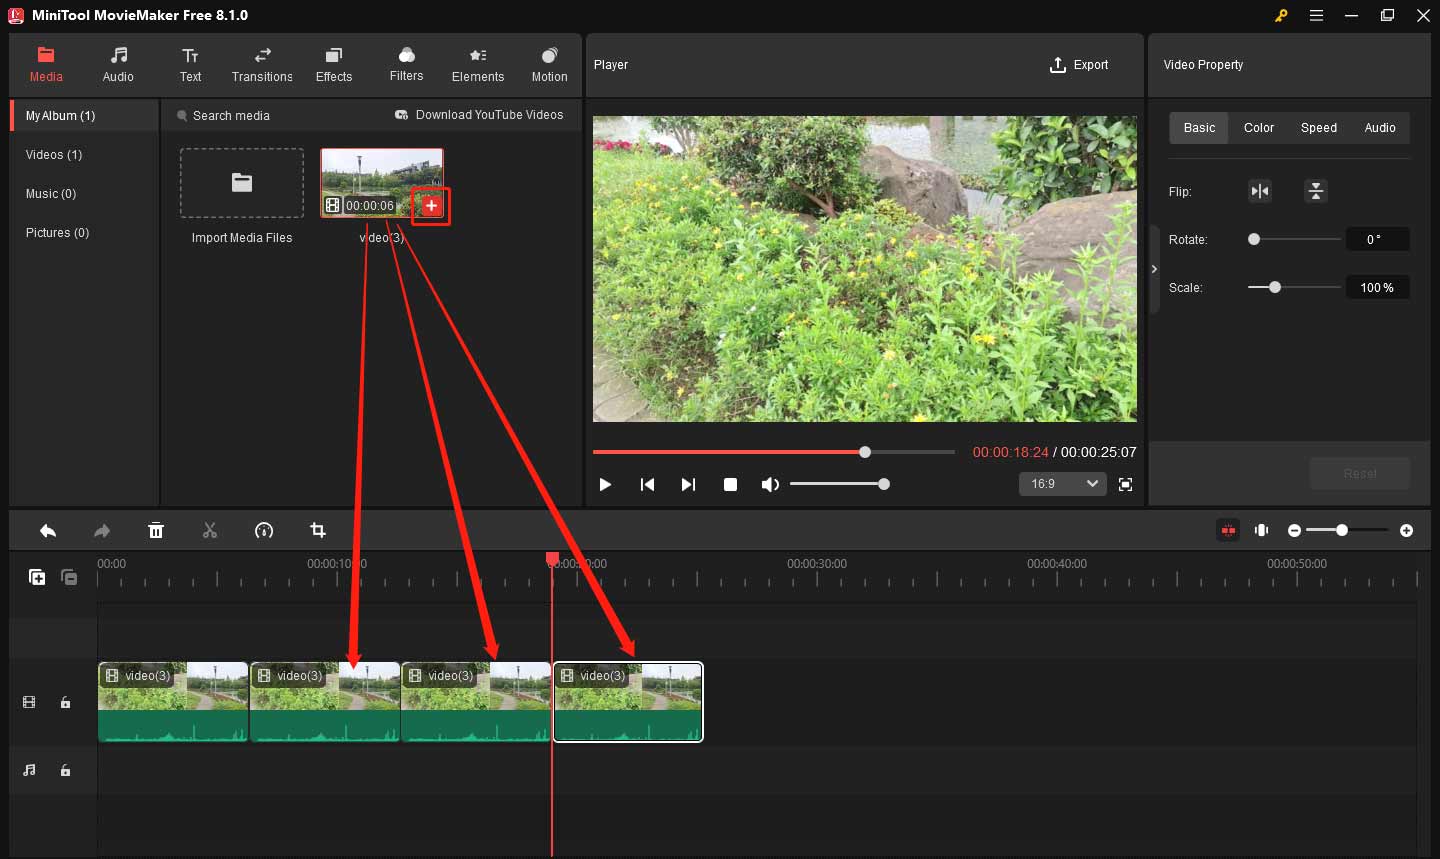
Step 3: After importing your video, click the plus icon on the target video or drag it to the timeline at the bottom of the program’s interface.
Step 4: To create the loop effect, repeat step 3 until you are satisfied with the effect.
Step 5: After looping the video, click the Export button. Choose your desired file format and save the video to your computer.
Here are some other features you can use in MiniTool MovieMaker:
- Video Editing Tools: Besides looping, MiniTool MovieMaker allows you to trim, cut, and merge video clips, giving you more control over your video content.
- Adjust Video Quality: You can adjust brightness, contrast, and saturation to enhance the quality of your video before adding it to Google Slides.
- Transitions and Effects: The program offers various transitions and special effects that can be applied to make your video more engaging.
- Text and Title Customization: The software provides a comprehensive text editing tool, allowing you to add titles, captions, and credits with various styles. You can also customize the text to make it more appealing.
- Audio Options: MiniTool MovieMaker also enables you to add background music or voiceovers to your video.
MiniTool MovieMakerClick to Download100%Clean & Safe
Bottom Line
This is all about how to loop a video in Google Slides. Looping a video in Google Slides is a simple process that allows you to loop the video indefinitely. If you need more control over your video playback, using a video editor like MiniTool MovieMaker is a great option. You can customize the number of loops according to your needs.
About The Author

Position: Columnist
Yulia has a great passion for life. She enjoys photography and travel, and is always eager to record cherished moment through her lens. This also led to her strong interest in video editing, and she kept learning multimedia-related knowledge, hoping to bring readers better advice on images, audio, video, and related topics.
User Comments :