When it comes to GoPro remove fisheye, we’re going to show you two easy methods to get the job done in this post from the best video editing software - MiniTool MovieMaker.
About Fisheye Lens
The fisheye lens of a GoPro camera is designed to do nearly all of the shooting project on its own since it’s best known for taking images from several miles away from a subject. The lens is an ultra-wide-angle one, covering a horizontal or landscape view up to 122.6 degrees.
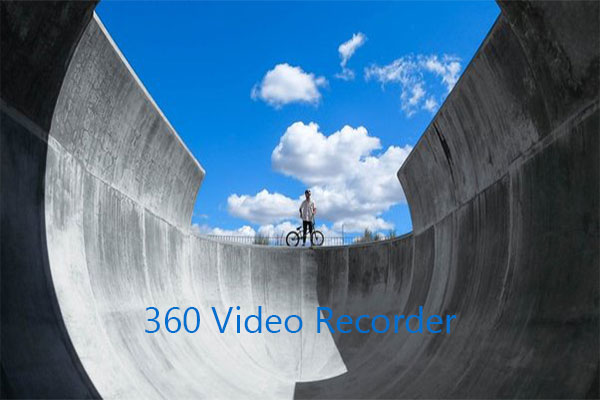
In order to distort light coming in while filming, the fisheye lens is designed with a curvy edge, which is often seen at the edge of any video or picture taken with a GoPro camera. The circular distortion allows for greater coverage during the shooting but is also the reason why straight lines appear distorted or bent and the middle of the frame is oversized in comparison to other areas.
Even though the fisheye effect is for a good purpose, I can speak for everyone when I say that it is not always fun to have in videos or pictures. Sure, it might be a great view in some videos or photos yet highly bothersome in other cases.
It’s no surprise that the majority of GoPro users are constantly seeking methods to eliminate this bothersome feature. Fortunately, I know two simple methods to enjoy the benefits of using GoPro cameras without having to suffer from the negative fisheye effect. Find out how to remove GoPro fisheye in the next section!
How to Remove Fisheye from GoPro
#1 GoPro Remove Fisheye – Select Linear Field of View (FOV)
An easy method to completely get rid of the fisheye effect is to set the camera to Linear FOV in the settings. GoPro cameras have several distinct FOVs (Super-view, Wide, Medium, Narrow, and Linear), with Super-view being the widest and, of course, having the most fisheye distortion effect, while Linear is similar to any standard angle camera.
The Linear FOV doesn’t cover as much range as the Super-view one, but you definitely get videos and photos without the fisheye effect. If you are concerned about the distortion, then this may be the simplest choice to eliminate it.
It is crucial to note, however, that once you go linear, you cannot go back. Here’s what I mean: The use of Linear FOV prevents you from going back to any of the other fisheye-effect ones like Super-view, Wide, Medium, or Narrow. You can record your video only in the landscape.
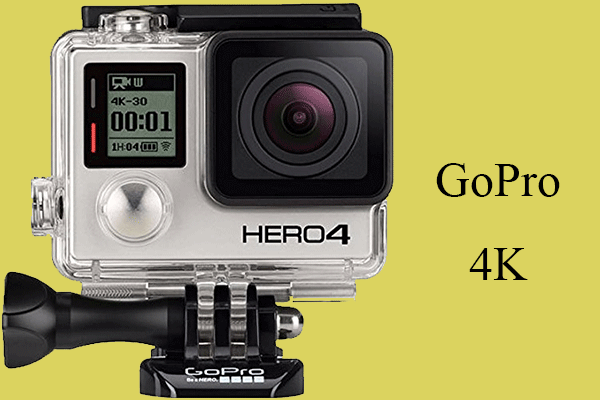
Moreover, the Linear FOV is not available on all GoPros. You are in the clear if you have a Hero 5 Black, Hero 5 Session, and Hero 6. Other versions like Hero 4 Silver and Hero 4 Black cannot take advantage of the built-in fisheye distortion correction unless firmware v.05.00.00 is installed.
On top of that, the Linear FOV works for just selected frame rates and resolutions. You may have to think about another choice for the GoPro remove fisheye.
#2 Remove the Fisheye Effect Using GoPro Studio
To combat the threat posed by the fisheye effect, GoPro developed a program referred to as GoPro Studio which includes all the editing tools required for post-production editing. The software assists you in completely eliminating the fisheye effect after shooting.
Thus, you get to enjoy the vast landscape view as well as get rid of the curved edges. This is much better than filming in Linear FOV which enables you to capture only in the standard landscape, so reducing the area of coverage significantly.
Here are a couple of steps to remove the fisheye effect using GoPro Studio.
Step 1: First of all, you will need to download, install, and run GoPro Studio on your PC.
Step 2: Next, select the View and Trim option to start the editing process.
Step 3: Then, choose the video you would like to edit.
Step 4: After you choose the video, select the Advanced Settings option to continue. Make sure you click Remove Fisheye and OK. This will get the ball rolling.
Step 5: Finally, you will need to click on the Add Clip to Conversion List option and select Convert to complete the process of removing the fisheye effect. All done!
MiniTool MovieMakerClick to Download100%Clean & Safe
Conclusion
Speaking of GoPro remove fisheye, you can do this using the two simple methods described above. Hope both help you.


User Comments :